
Prepare the Data Source
First, decide which external tool or app will send the data (such as a Make.com webhook, a Google Sheets module, or an HTTP trigger). Send a test entry from your data source, so Make.com can detect the structure of your data.Create a New Flow with a Custom POST Endpoint in Chatarmin
In your Chatarmin dashboard, create a new flow and select Custom POST Endpoint as the trigger. Keep this screen open so you can copy the endpoint URL and header values in the next step.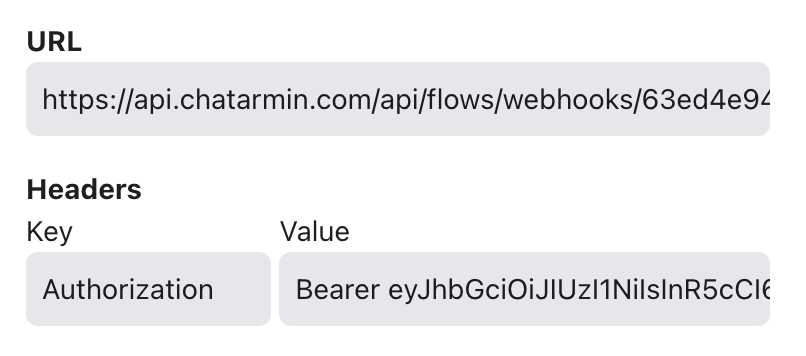
Configure Make.com to Send Data to Chatarmin
-
In Make.com, add a new HTTP module and set it to “Make a request.”
- URL: Paste the custom endpoint URL you copied from Chatarmin.
- Method: POST
-
Headers: Copy the Headers you see in chatarmin
Authorization→ value:Bearer <your-API-key-from-Chatarmin>
- Body type: Raw → JSON (application/json)
-
Request Content: Use the JSON format and input your variables from the data source
For example:
In Chatarmin, paste the request content into the Payload Body field
Copy the JSON body from make.com and paste it in the “Payload Body field”. Now you can click the “save” button.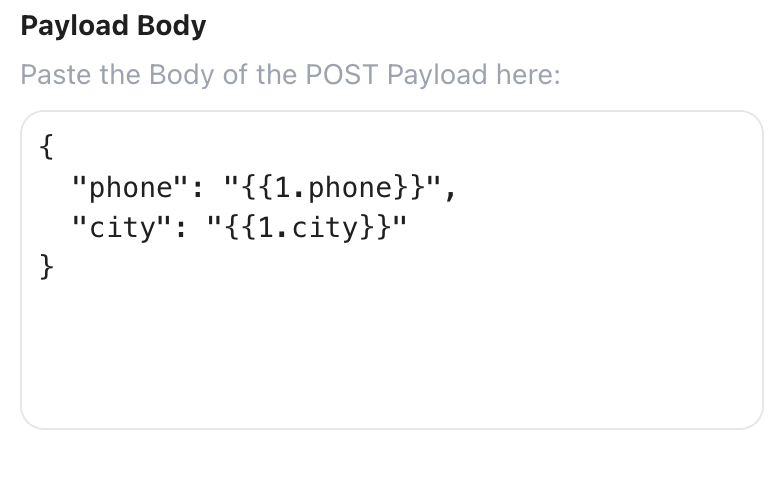
Add Custom Fields to your Audience in Chatarmin
Chatarmin’s audience already includesphone, firstname, lastname, and email.
- For these standard fields, you don’t need to add anything.
- For new data fields (e.g.
city), go to Audience → Add Column and create a field named exactly as the incoming key (city).
Update Custom Data in Your Flow
For any custom fields (likecity in this tutorial):
- Add an Update Customer action in your flow.
- Select the property you created (e.g.
city) and map in the value coming from the API/POST data.