
When to use it
Use Chatarmin MCP when you want an AI assistant (Cursor, Claude, ChatGPT, VS Code, or similar) to work with your live Chatarmin data without copying exports or switching between tools.Access
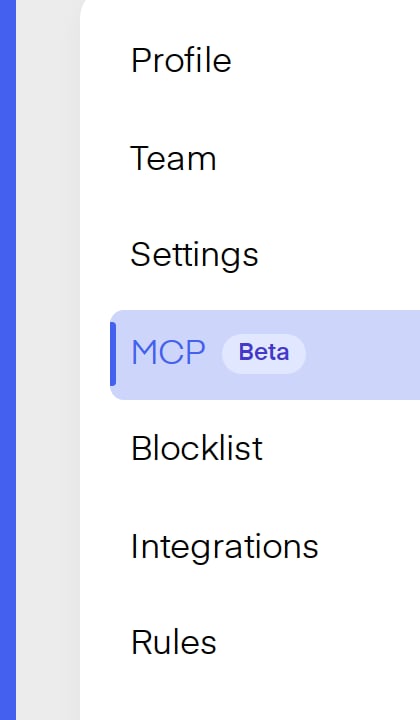
Chatarmin MCP is available for every organization:- Open Profile → MCP or click MCP in the dashboard sidebar.
- Profile → MCP shows your organization-specific MCP endpoint URL and OAuth configuration.
What changed
Chatarmin ships a dedicated MCP area in your account:- Dashboard sidebar → MCP and Profile → MCP lead to the same MCP page.
- Profile → MCP shows what your assistant can do, plus your MCP endpoint URL and OAuth configuration.
- OAuth consent screen — when you click Connect in your AI client, you sign in to Chatarmin and approve access for that client (for example Cursor or Claude).
- Static Bearer token (advanced) — for clients that do not support OAuth, you can use the same API token from Profile → Settings → API token.
/api/mcp URL without your organization ID.
What your assistant can do
Tools are scoped to your Chatarmin organization. Capabilities include:Campaigns & messaging
List campaigns, inspect metrics, preview audience size, create or pause campaigns, read WhatsApp chats, send messages, and trigger flows.
Contacts & audience
Search contacts, view audience stats, list tags and segments with live counts, create tags, and preview segment sizes.
Flows & templates
List Chatarmin’s pre-built flow templates, create flow drafts from them, update and publish flows, read analytics and run traces, and draft or submit WhatsApp templates for Meta approval.
Analytics & orders
Pull dashboard KPIs, campaign performance metrics, and search attributed orders by campaign, flow, or contact.
Set it up
Watch the walkthrough

1
Open MCP
In Chatarmin, open Profile → MCP or click MCP in the dashboard sidebar.
2
Copy your MCP endpoint
On Profile → MCP, copy the endpoint URL or OAuth config.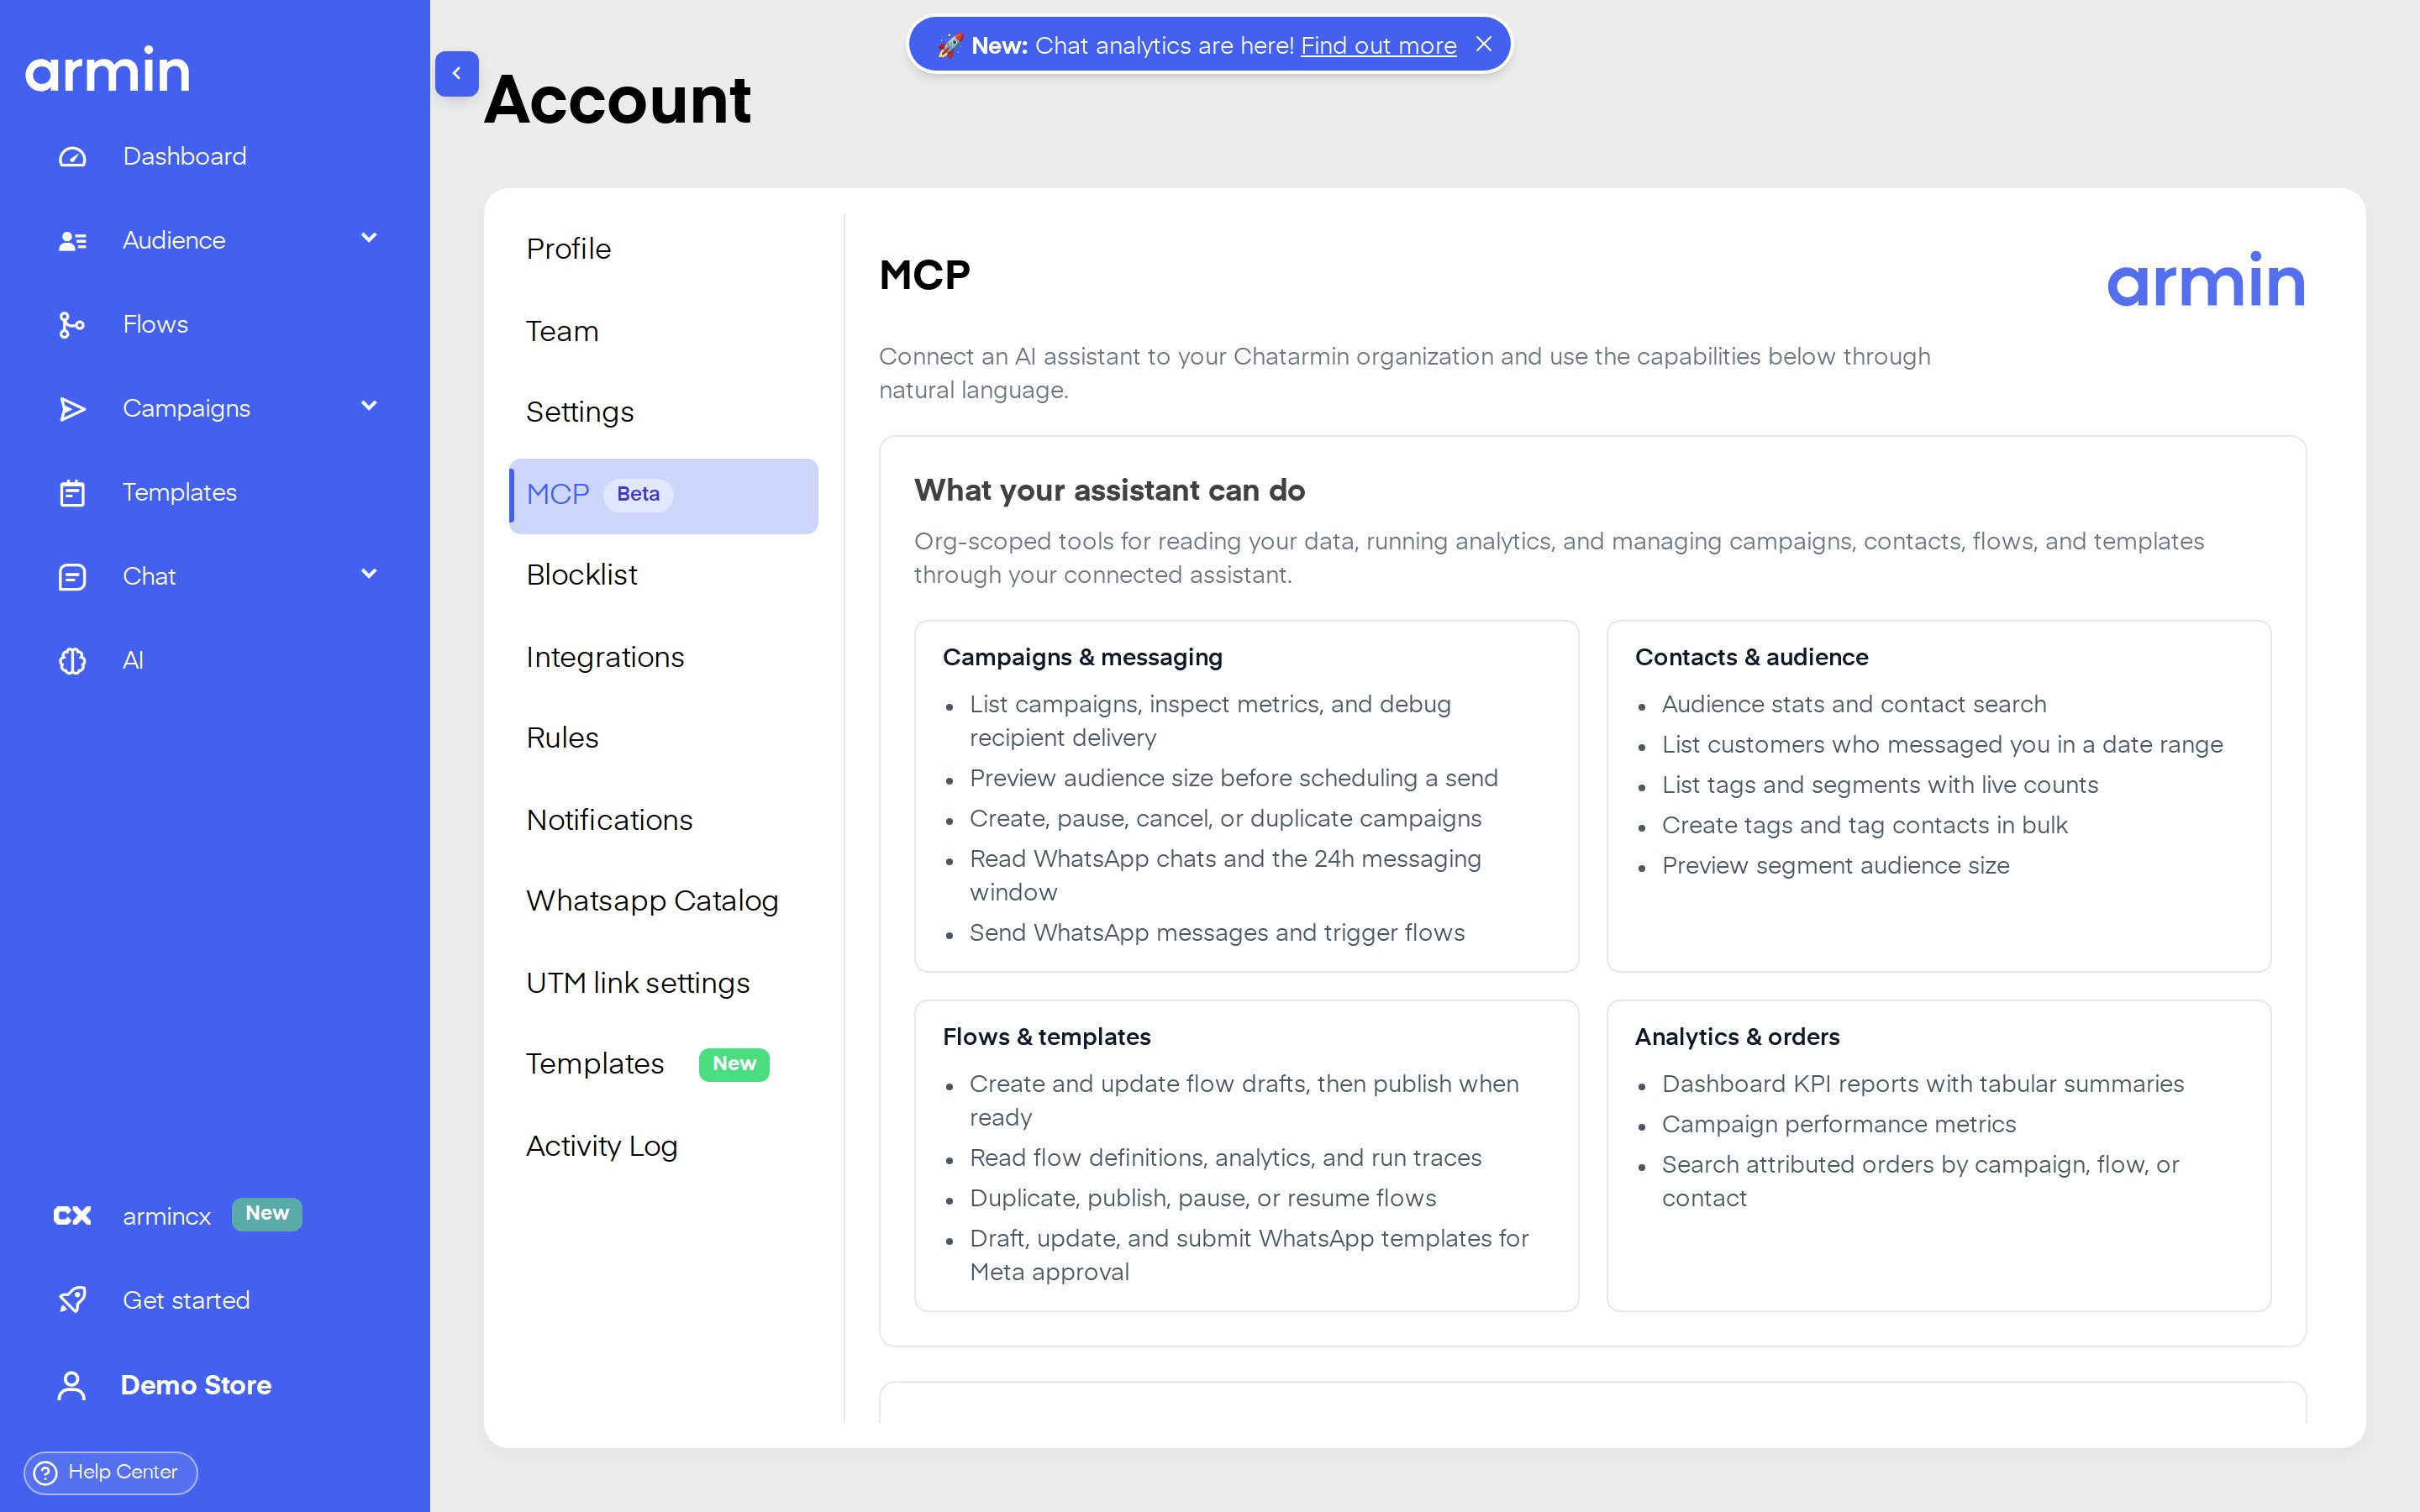
3
Add the server in your AI client
Follow the connection guide for your tool:
4
Connect and approve access
In your AI client, click Connect (or equivalent). Your browser opens the Chatarmin consent screen.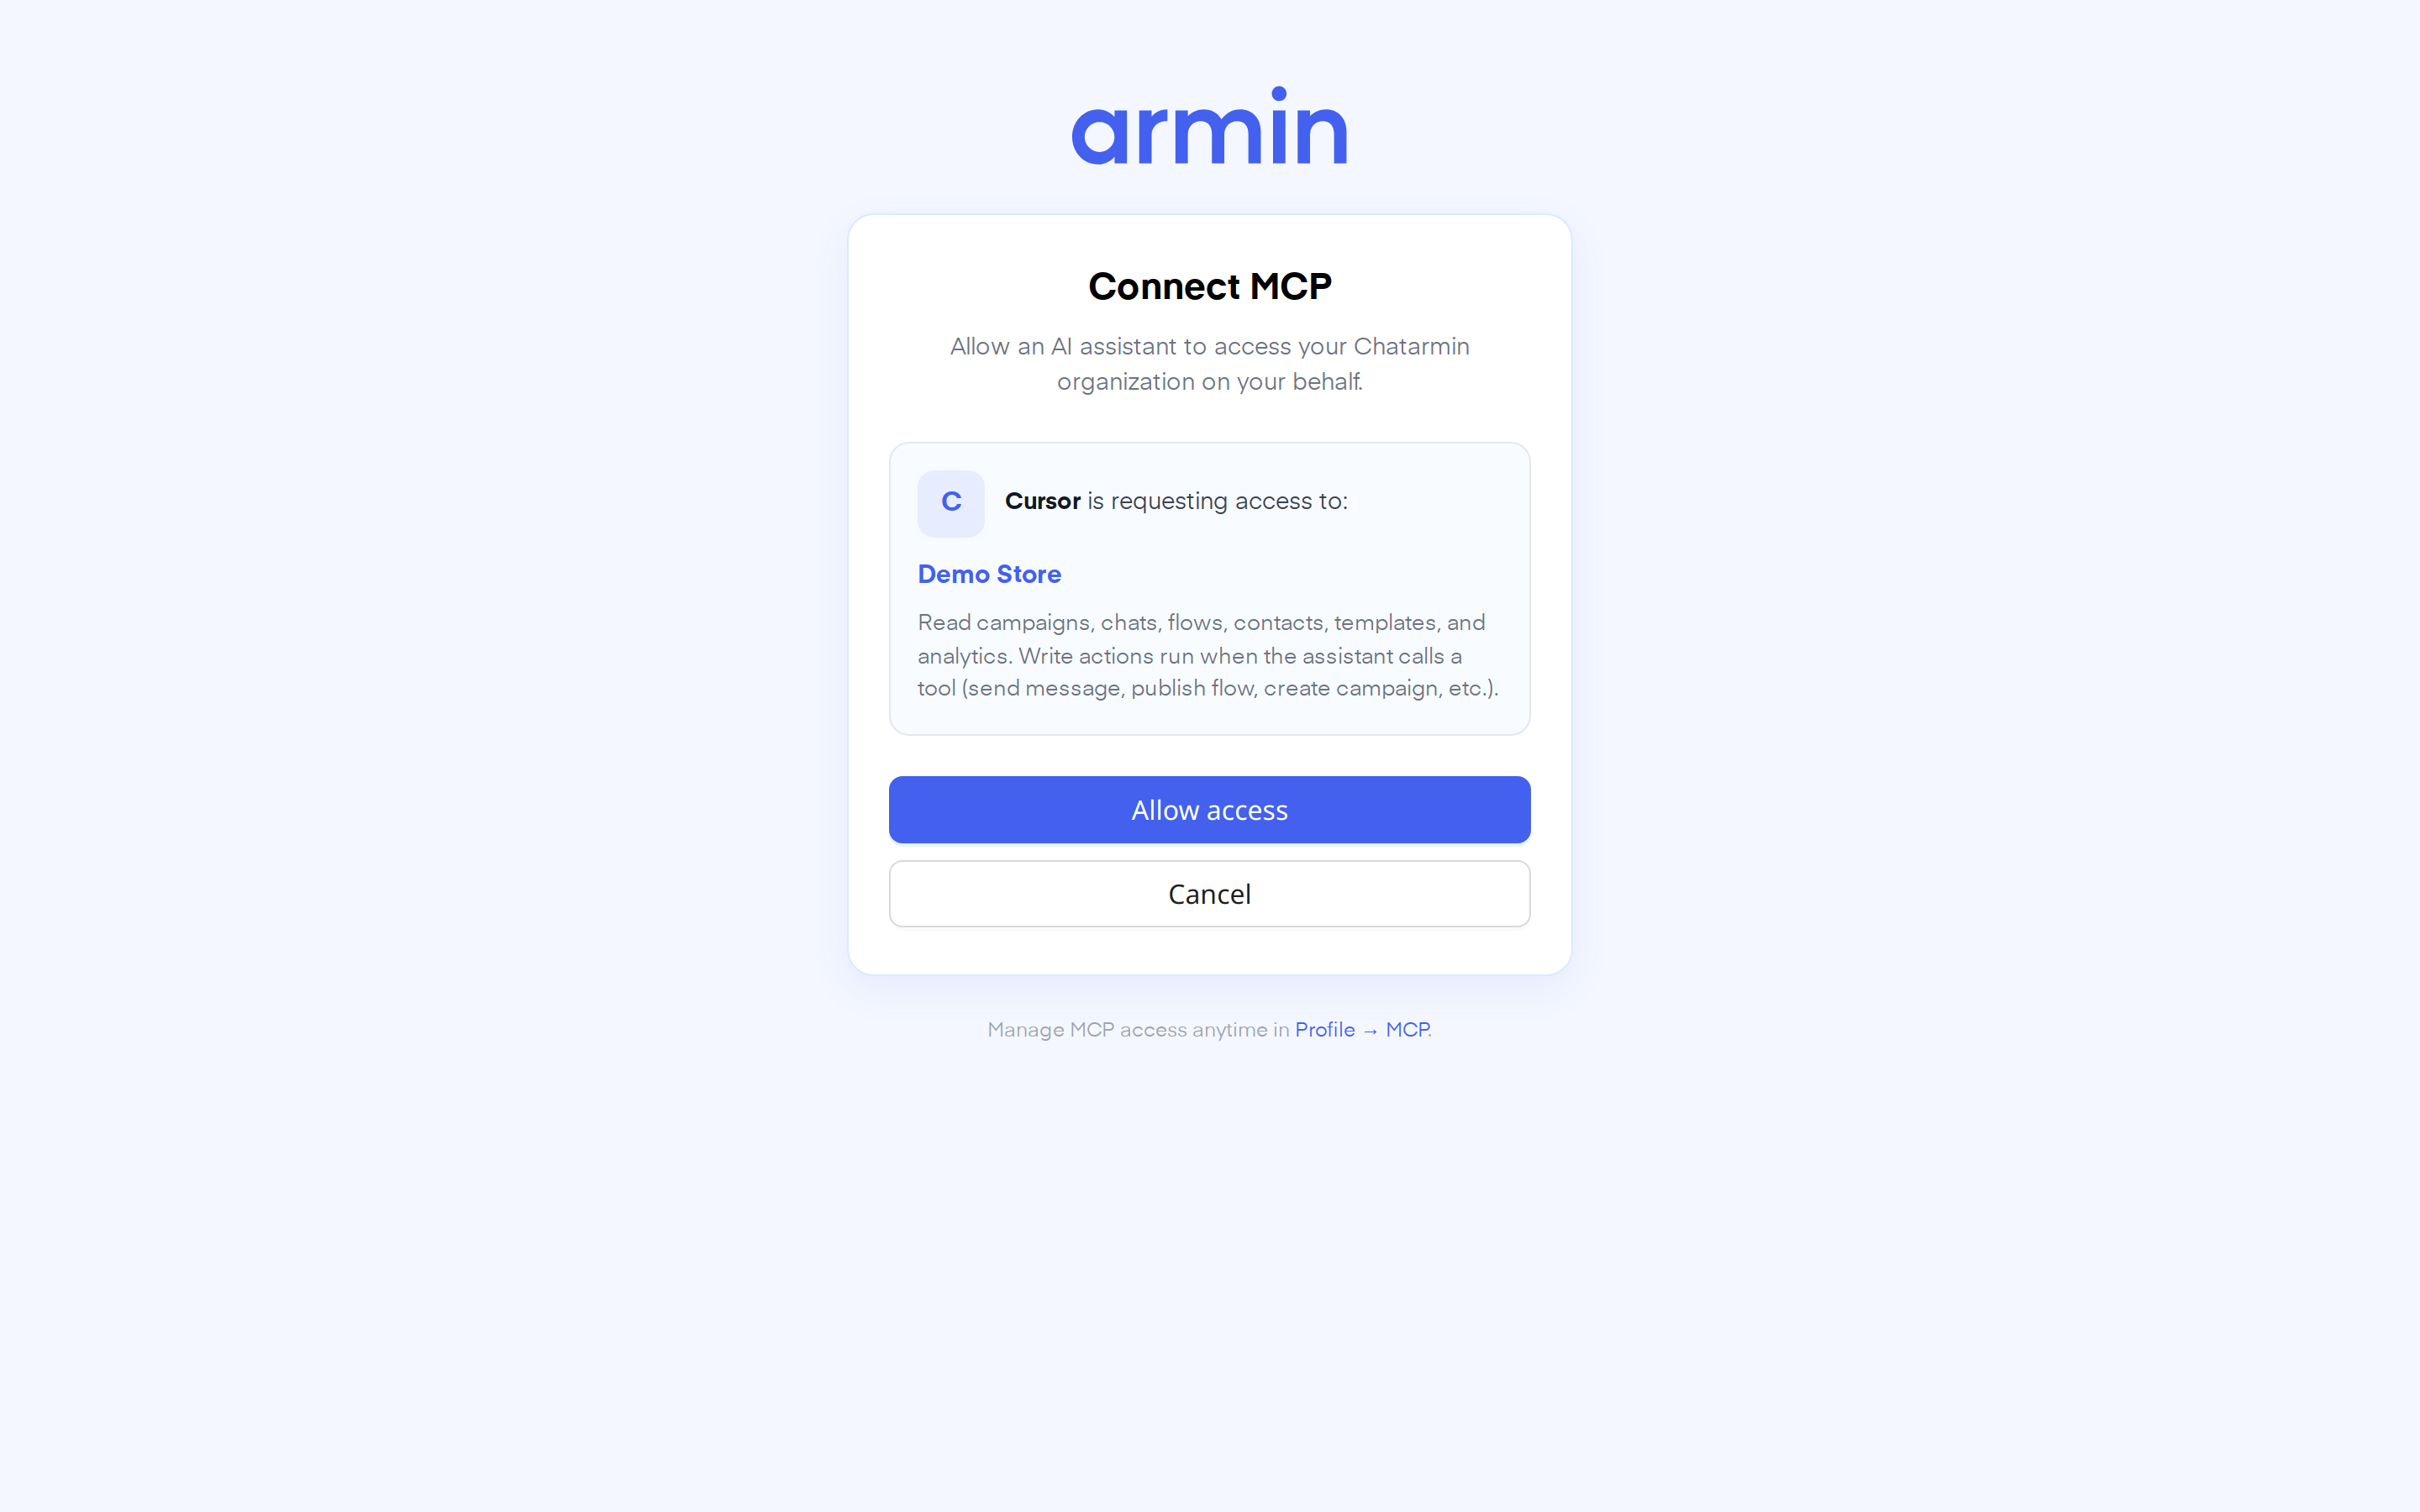
5
Start using Chatarmin tools
After authorization, Chatarmin tools appear in your assistant. Ask questions like “How did last week’s campaign perform?” or “List contacts who messaged us in the last 7 days.”
Advanced: static Bearer token
Only use this if your AI client does not support OAuth Connect.- Open Profile → Settings and copy your API token.
- Add the MCP URL with an
Authorizationheader in your client config:
YOUR_ORGANIZATION_ID with the ID from your MCP endpoint URL and YOUR_API_TOKEN with your token. The same Bearer example is available on Profile → MCP.
Troubleshooting
Missing authorization state — Start again from your AI client’s Connect button. Do not refresh the consent page manually. Authorization request expired — OAuth states are short-lived. Click Connect in your AI client again. Session expired on consent screen — Sign in to Chatarmin, then retry Connect from your AI client. Tools do not appear — Confirm you copied the full organization-specific MCP URL from Profile → MCP (including the ID after/api/mcp/), complete OAuth, and restart or reload MCP in your client.
Send message is blocked — WhatsApp sending stays off until API message sending is enabled for the account. Other MCP tools still work.
Need help? Email support@chatarmin.com or see Connect Chatarmin MCP to AI tools.