
Open Profile → MCP to copy your endpoint. OAuth is recommended; see Chatarmin MCP for capabilities and troubleshooting. Sending WhatsApp messages requires API message sending to be enabled on the account.
mcp.json):
Copy the JSON from Profile → MCP, or use this structure with your exact endpoint URL:
Cursor
Cursor supports remote MCP servers with OAuth. No API token is required in your config.1
Copy your OAuth config
In Chatarmin, open Profile → MCP and click Copy OAuth config (or copy the JSON shown on that page).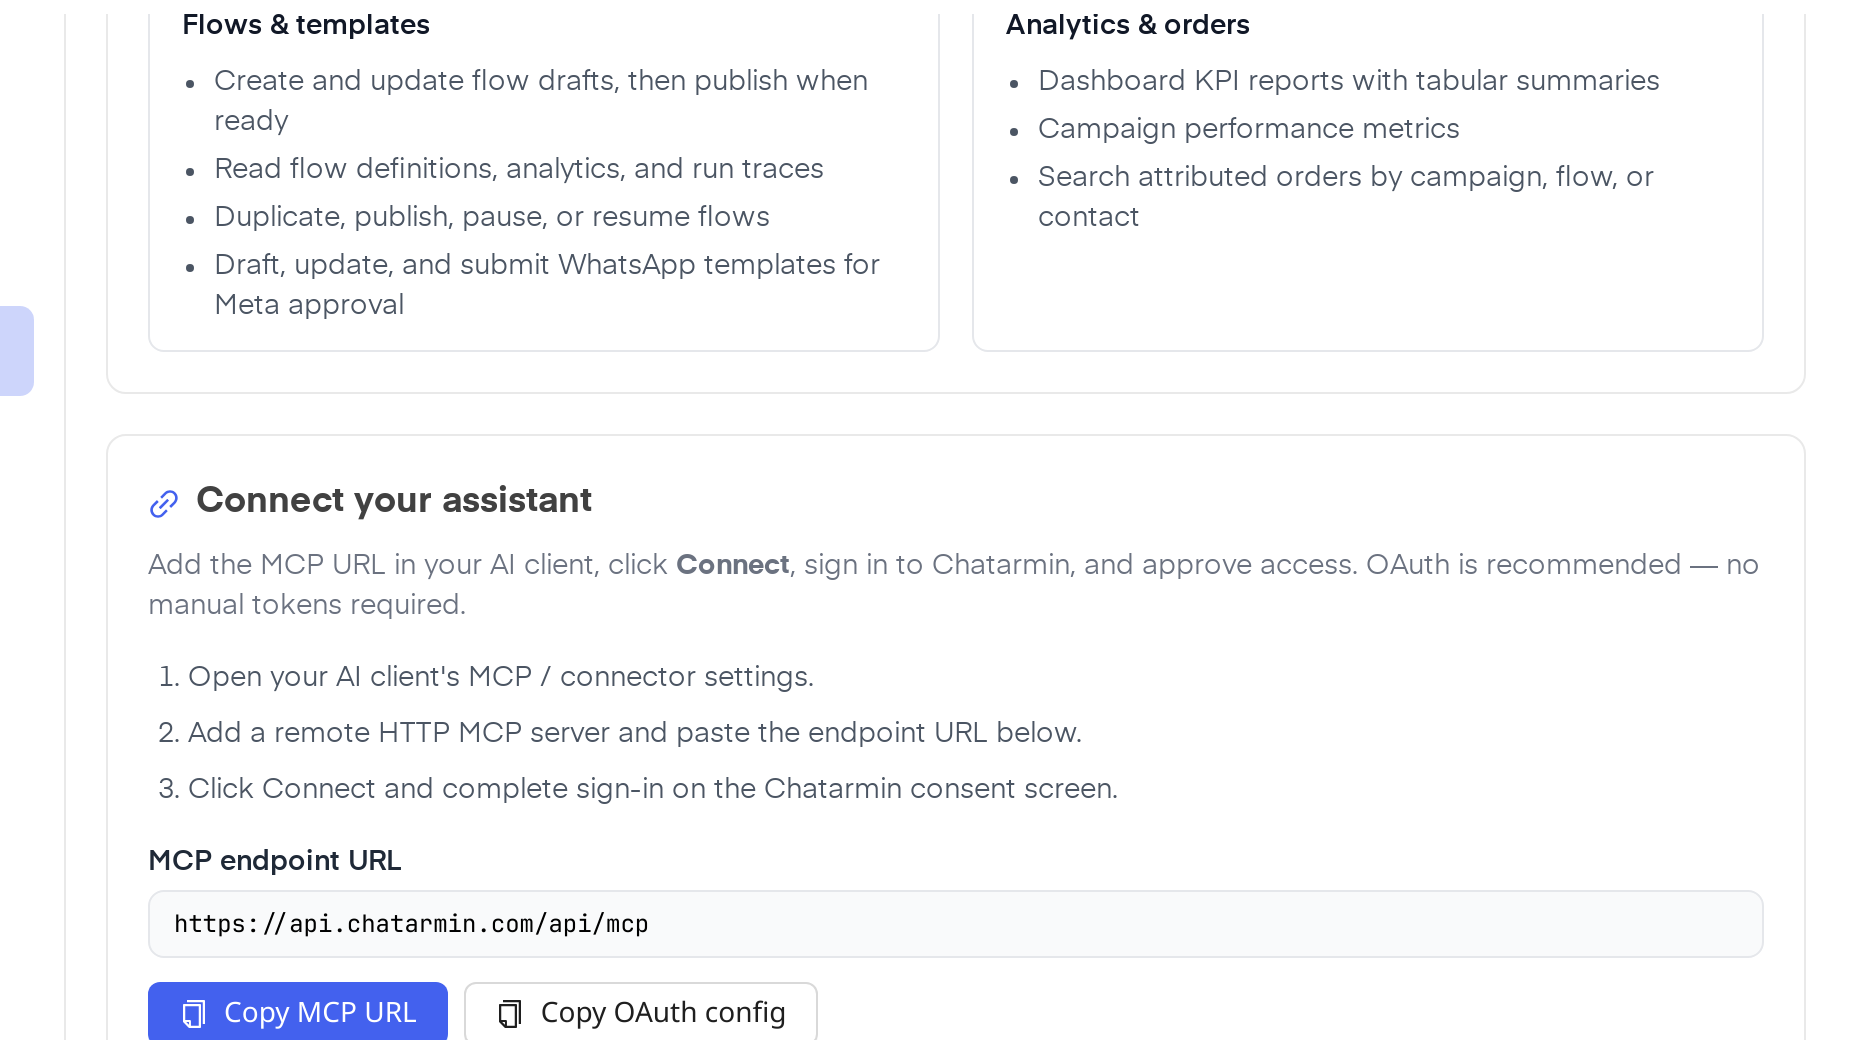
2
Add the server to Cursor
Open Cursor Settings → Tools & MCP (or edit Replace
~/.cursor/mcp.json / .cursor/mcp.json in a project).Paste the Chatarmin OAuth config under mcpServers, or add:YOUR_ORGANIZATION_ID with the value from your Profile → MCP endpoint URL.3
Connect
In Tools & MCP, find chatarmin and click Connect.Your browser opens the Chatarmin consent screen. Sign in and click Allow access.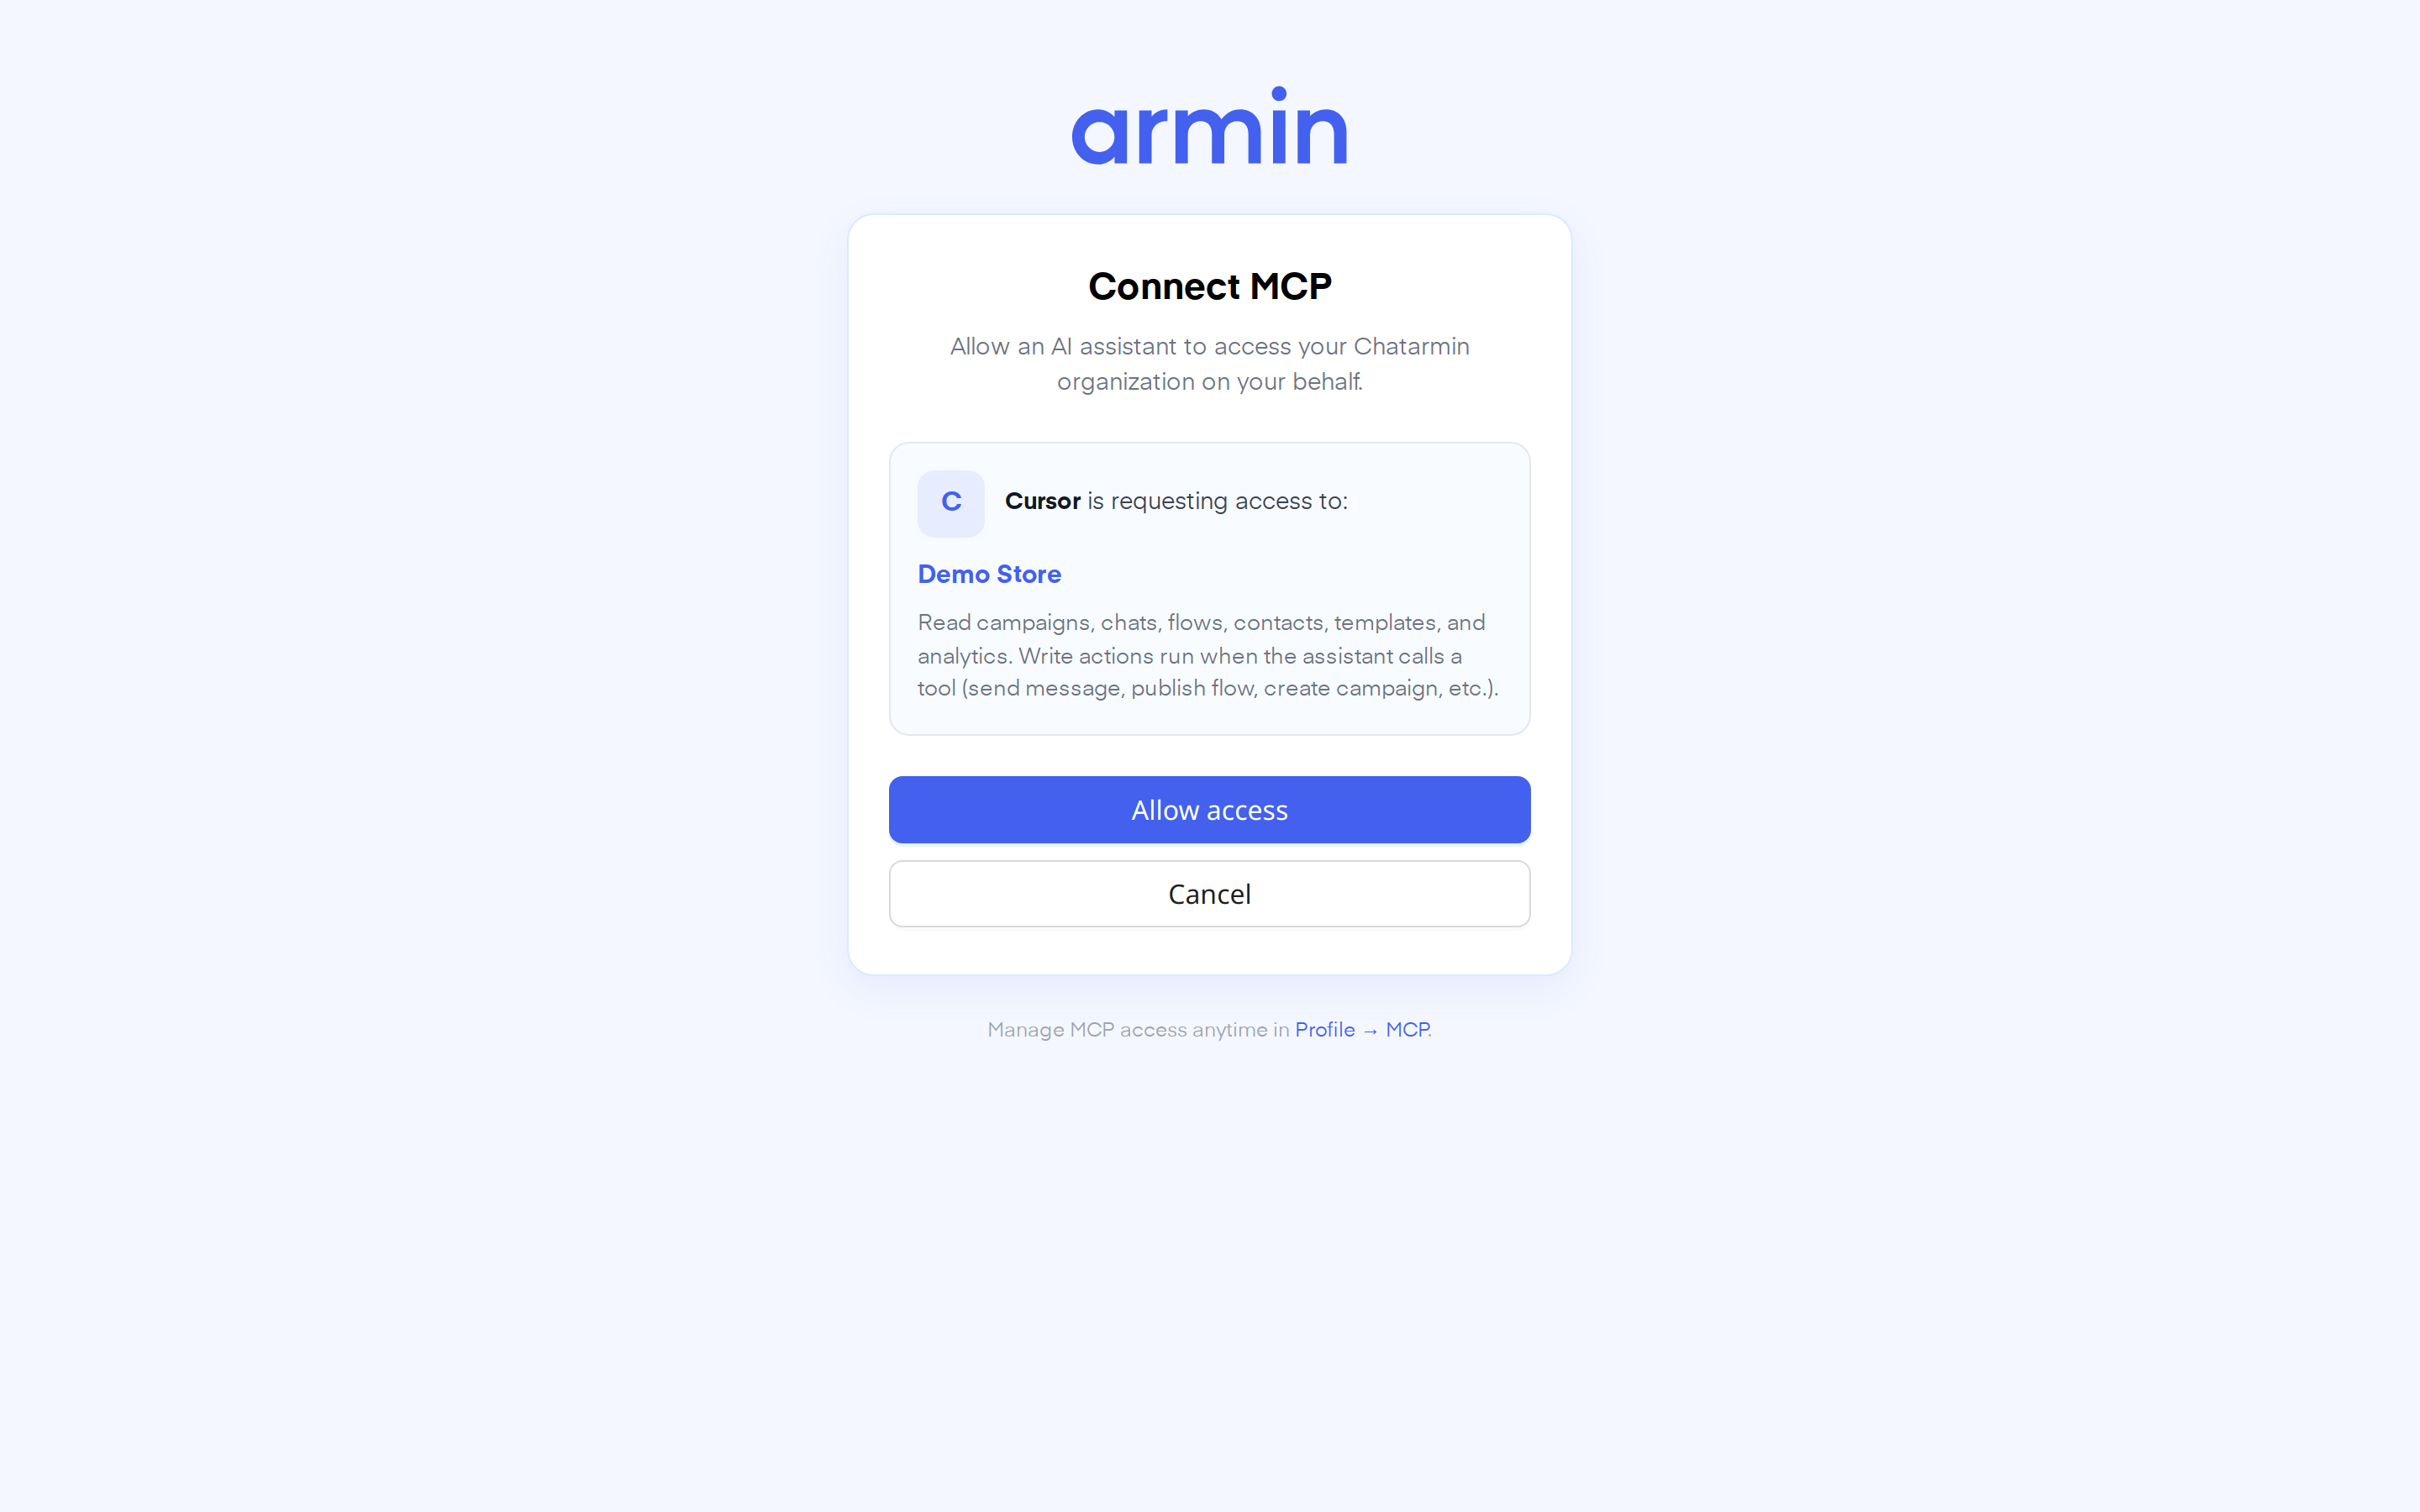
4
Use Chatarmin in the agent
In Cursor Agent or Chat, ask questions that need live Chatarmin data. Confirm tool calls when Cursor prompts you.
Claude (Desktop and web)
Claude connects to remote MCP servers through custom connectors. Anthropic’s cloud reaches your server over HTTPS—use the Chatarmin production URL, not a local address.1
Open Connectors
In Claude Desktop or claude.ai, open Settings.
- Personal: Customize → Connectors
- Team / Enterprise: Organization settings → Connectors
2
Add a custom connector
Click Add custom connector (or Add → Custom, type Web if asked).Enter:
Leave transport on the detected default (Streamable HTTP) unless Chatarmin support advises otherwise.
3
Authenticate
Choose OAuth when prompted. Complete sign-in on the Chatarmin consent screen and click Allow access.
4
Enable in a chat
Start a new conversation, open the tools or connectors menu, and enable Chatarmin. Ask your question and approve tool use when Claude requests it.
Free plans may limit the number of custom connectors. Remote connectors require a public HTTPS URL—Chatarmin’s hosted endpoint works out of the box.
ChatGPT
ChatGPT connects to remote MCP servers as custom connectors when Developer mode is enabled (paid plans).1
Enable Developer mode
In ChatGPT (web), open Settings.Enable Developer mode (location varies by rollout—check Apps → Advanced settings, Connectors → Advanced, or Security and login).
2
Create a connector
Go to Settings → Connectors (or Plugins) and click Create / Add connector.
3
Sign in to Chatarmin
Complete the OAuth flow in your browser. On the Chatarmin consent screen, click Allow access.
4
Use in a chat
Start a new chat, enable the Chatarmin connector, and ask your question. ChatGPT asks for confirmation before write actions.
VS Code
VS Code supports MCP through compatible extensions and the MCP ecosystem. Setup depends on your extension; the Chatarmin URL and OAuth flow stay the same.1
Install an MCP-capable extension
Install an extension that supports remote HTTP MCP with OAuth (for example GitHub Copilot’s agent mode or a dedicated MCP extension from the marketplace).Follow that extension’s docs for adding a remote server.
2
Add the Chatarmin server
When prompted for a server URL, paste the MCP endpoint URL copied from Profile → MCP:If the extension uses JSON config, use the OAuth block from Profile → MCP in Chatarmin.
3
Connect with OAuth
Trigger Connect or Authenticate in the extension. Complete the Chatarmin consent screen in your browser.
GitHub Copilot
GitHub Copilot (in VS Code, JetBrains, or Copilot Chat) can use MCP servers where your client version supports remote connectors.1
Check MCP support
Ensure your Copilot client supports MCP connectors (see GitHub Copilot documentation for your editor).
2
Add Chatarmin
Add a remote MCP server with your organization-specific URL from Profile → MCP and authentication OAuth, following your editor’s MCP or Copilot settings UI.
3
Authorize
Run the connect flow and approve access on the Chatarmin OAuth screen.
Bearer token fallback
If a client does not support OAuth, use your API token from Profile → Settings → API token:claude_desktop_config.json setups, you can bridge with mcp-remote (replace the URL with your endpoint from Profile → MCP):
FAQ
Do I need a separate MCP API key?No. OAuth uses your Chatarmin login. The Bearer fallback reuses your existing API token. How do I get my MCP URL?
Open Profile → MCP and copy the organization-specific endpoint URL shown there. Can I revoke access?
Manage connections from Profile → MCP in Chatarmin and disconnect or rotate your API token in Profile → Settings if you used Bearer auth. Which clients are officially supported?
Any MCP client that supports remote HTTPS servers and OAuth (or Bearer headers) can connect. The guides above cover the most common tools; steps may shift slightly as each product updates its UI.