Templates - Explained
To be able to use a "Template" inside of a "Flow", send it as a "Campaign", or send it via "Chat" you first have to "Create a Template" via the template feature.
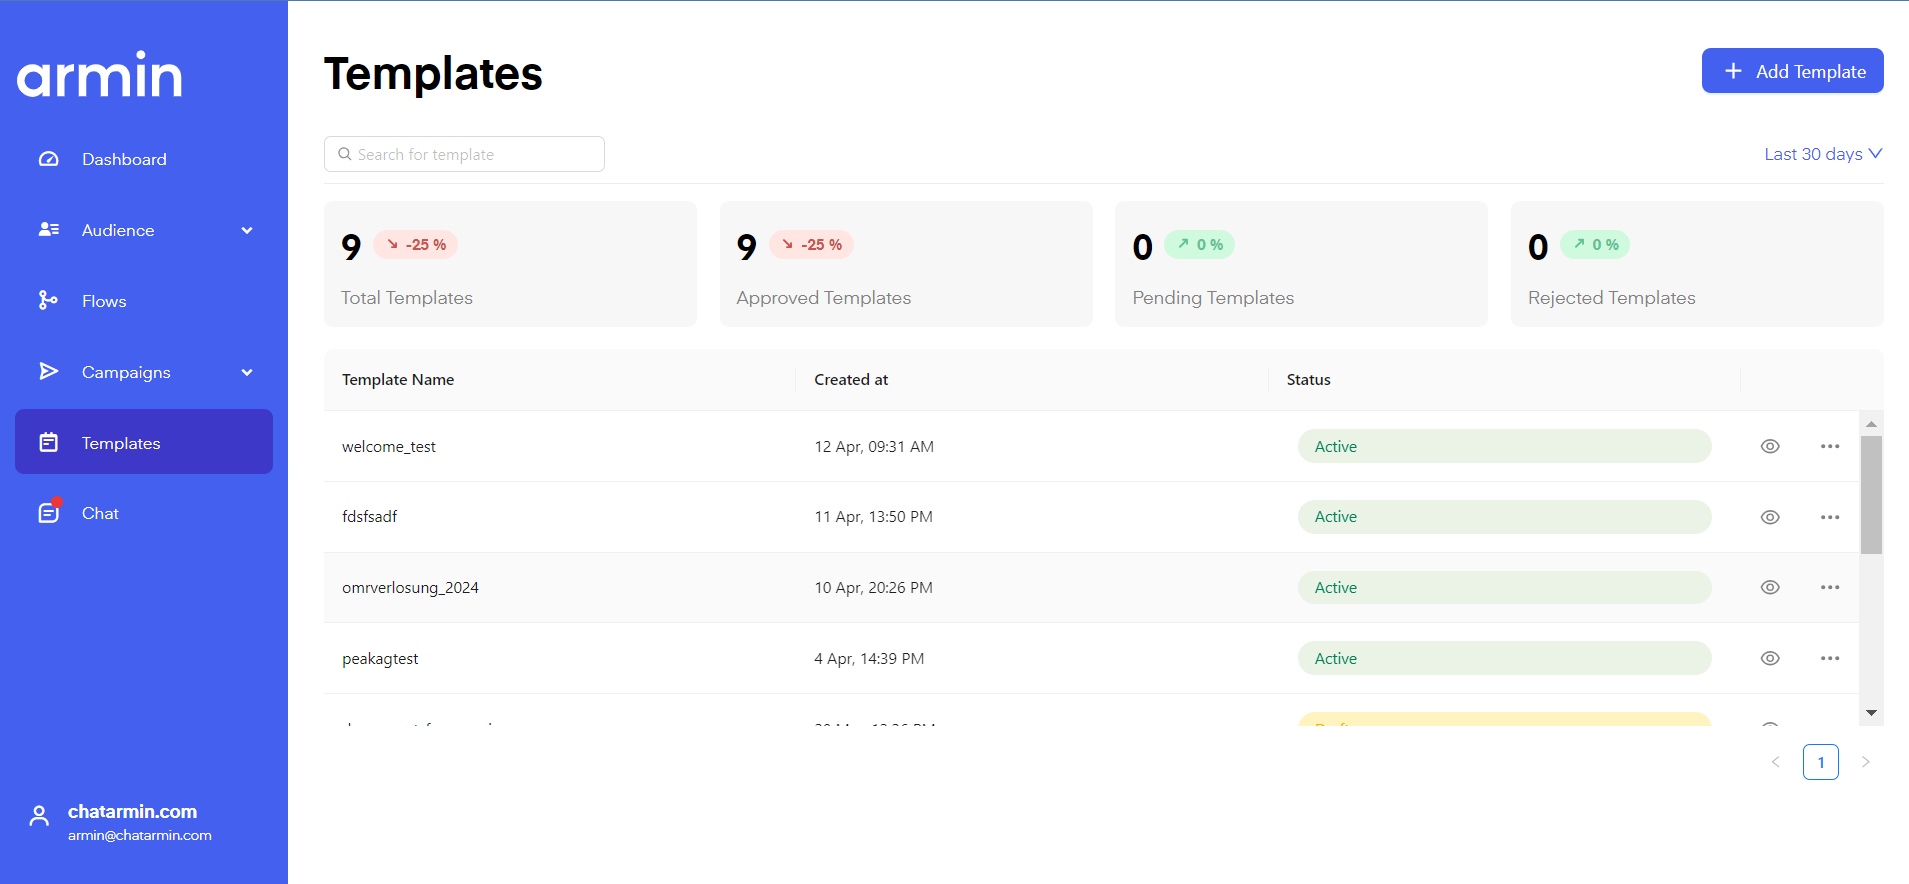
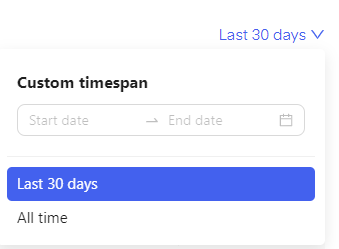
In the "Template Dashboard", you can see all your historical templates, similar to flows and dashboard you can change the timeframe for which templates to display.
By hovering over the eye icon you can preview the template.

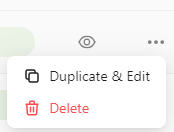
By clicking on the three dots next to the template you can either delete the template or duplicate and edit it.
Alternatively here is a video breaking down the "Templates" feature:
Create a new template
To create a new template click on "Add template". You will be redirected to the template creation board.

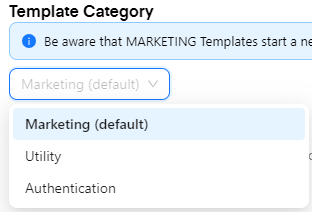
First, you will have to choose a "Template category". You can choose between Marketing, Utility, and Authentification. Be aware that MARKETING Templates start a new conversation. Check the Categorization Guidelines here.
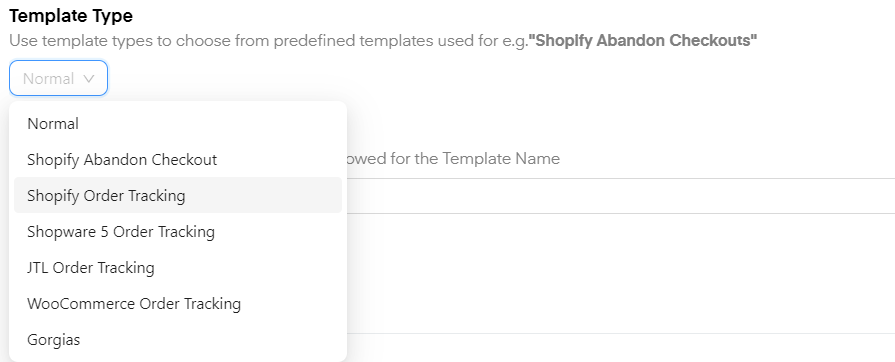
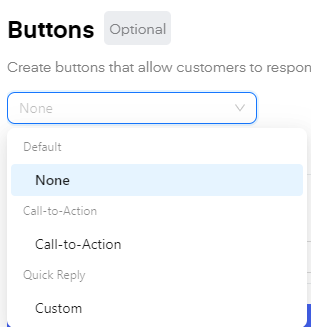
Secondly, choose your "Template Type". In most cases, this will be "Normal", although for specific cases and flows you can choose from the following dropdown menu:
Thirdly, you have to choose a "Template Name". Be careful you can only use lower score letters and underscores here, uppercase letters and spacebars are not allowed.

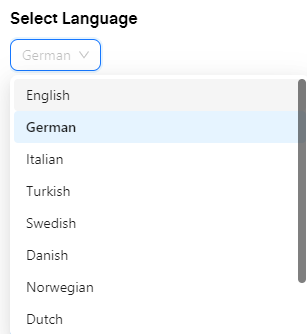
Click "Select language" to select the language your template is in. This is for META verification purposes.
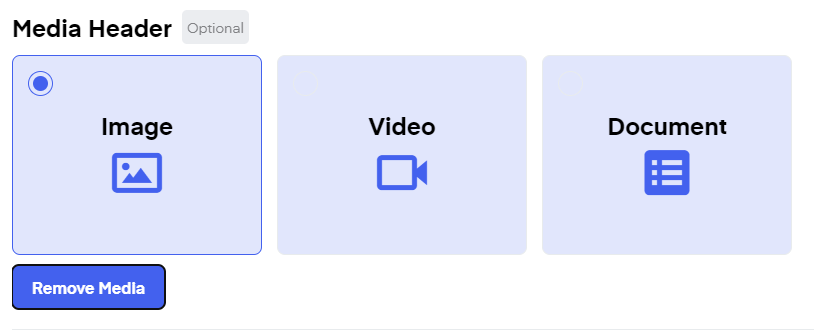
Optionally add a "Media Header". You can include Images, Videos, or Documents here. For now, this will only be a placeholder. You will upload the final file once you insert the campaign into a flow or send it as a campaign.
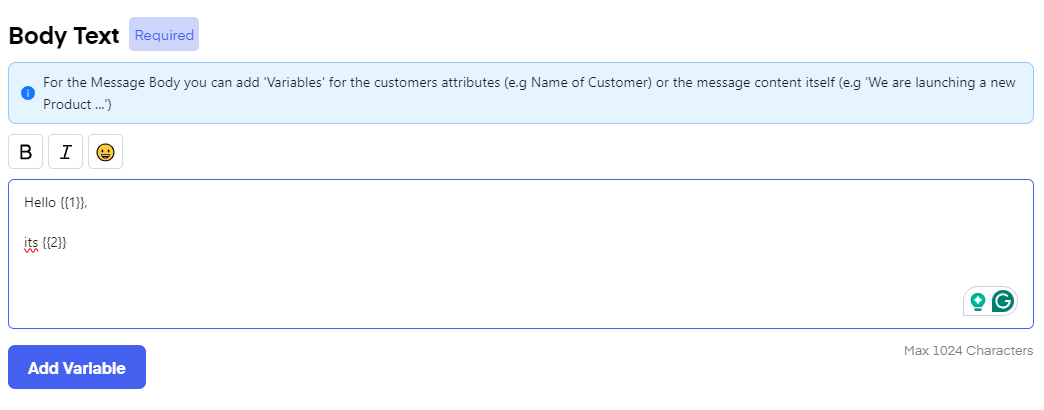
In the "Body Text" input the text of your campaign. You can see changes on the right-hand side in the preview. You can use bold text, italics, and emojis here. You can also set "Variables" here, the variables will only stay as placeholders for the number of variables and their location, similar to the "media header" you will designate the variables when using the template inside of "flows", "campaigns" or "chat".
NOTE: META does not allow using multiple soft breaks in a row.
You can optionally include "Buttons" in your campaign.
These can be "Call-to-action" buttons, such as links to your shop or a phone number in instance for a support case, the user will be redirected to his "Phone App".
Alternatively, you can set "Custom buttons", these can be used to redirect into a designated flow if the custom button of the campaign is equal to the buzzword you selected to trigger a flow.
In the "Footer," you can optionally include a greyed-out message. Here you can include your socials or a GDPR-compliant option for the user to opt-out at any time, e.g. "Type "Stop" to opt out at any time", or to make the user attentive that certain discount codes only work from a certain minimum-purchase-amount.

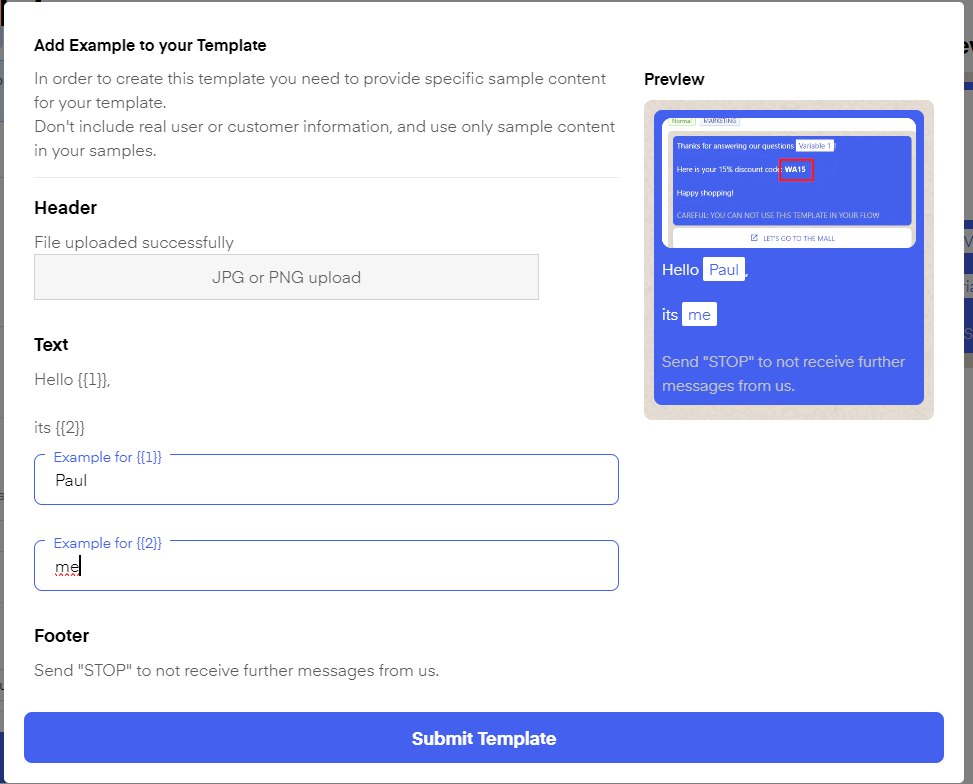
Once you click "Save template" you will be asked to send examples of your Media and variables. These are only examples to be verified by META, the final images, as well as variables, will be chosen once you include the campaign in a flow, send it via chat, or send it as a campaign.
🚨 Important
A variable must never be used as the last element in a template body; it must always end with text, otherwise Meta will block the template.
Template Verification

Template verification is fully managed by Meta and not by Chatarmin. All templates are automatically reviewed by Meta’s system to ensure they follow their messaging guidelines. Approval usually happens within minutes, but in some cases, it can take up to 24 hours.
Best practice:
If a template isn’t approved within 1 hour, it’s recommended to duplicate it and resubmit. To avoid delays, templates should ideally be created and approved 1–2 days before launching a campaign.
.png?token=eyJraWQiOiJzdG9yYWdlLXVybC1zaWduaW5nLWtleV9lMzQ5MTRlYi01NjlkLTRkNGYtODNhNi04MzFjODU0MzRlNmIiLCJhbGciOiJIUzI1NiJ9.eyJ1cmwiOiJoZWxwLWNlbnRlcnMvQXJtaW5fTG9nb19UcmFuc3BhcmVudF9CbHVlXygyKS5wbmciLCJpYXQiOjE3NjgzMzcwNzUsImV4cCI6NDkyMTkzNzA3NX0.3JpSAbn8b4OIktmPg9GDxJEMLAXlQn2ASxDwpEE7DbI)