Contacts - Explained
Contacts
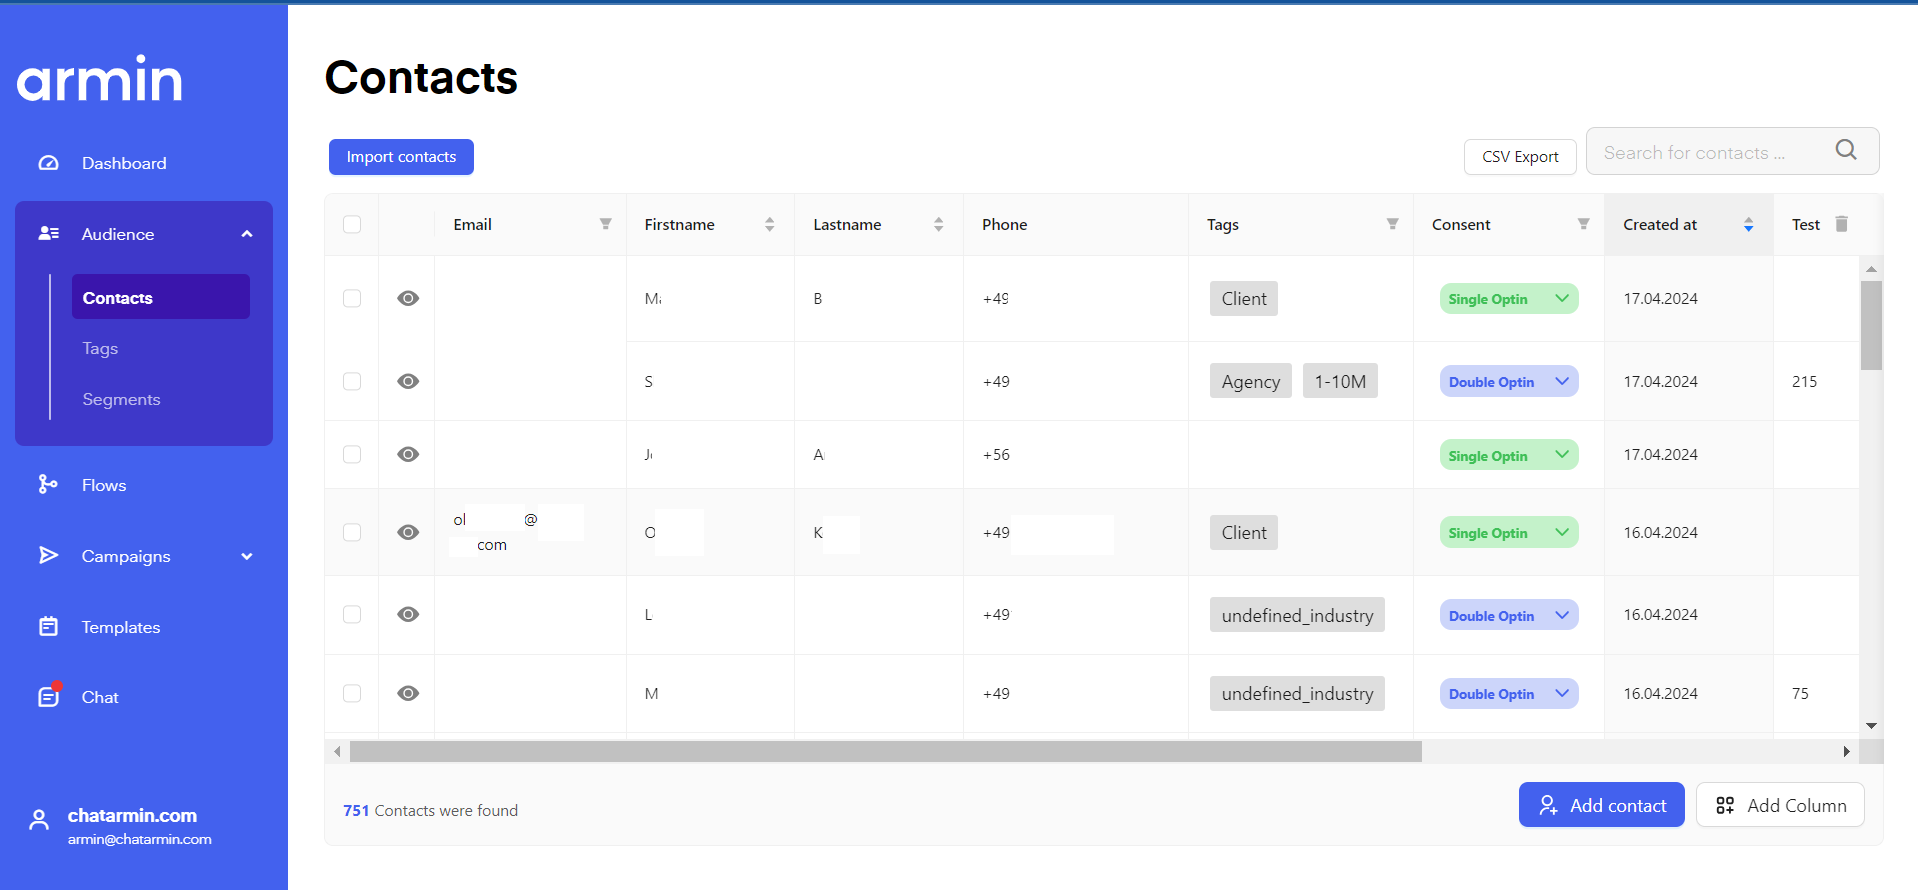
Via audience, you can find the "Contacts" subpage. You can see all of your contacts here whether imported, manually created or the client starting a conversation. On the top right, you can search for specific contacts.
Alternatively here is a video of the contacts feature:
Import Contacts
To import a CSV file with your contacts from another CRM follow this step-by-step guide.
Go to "audience"
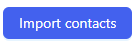
Click "import contacts"
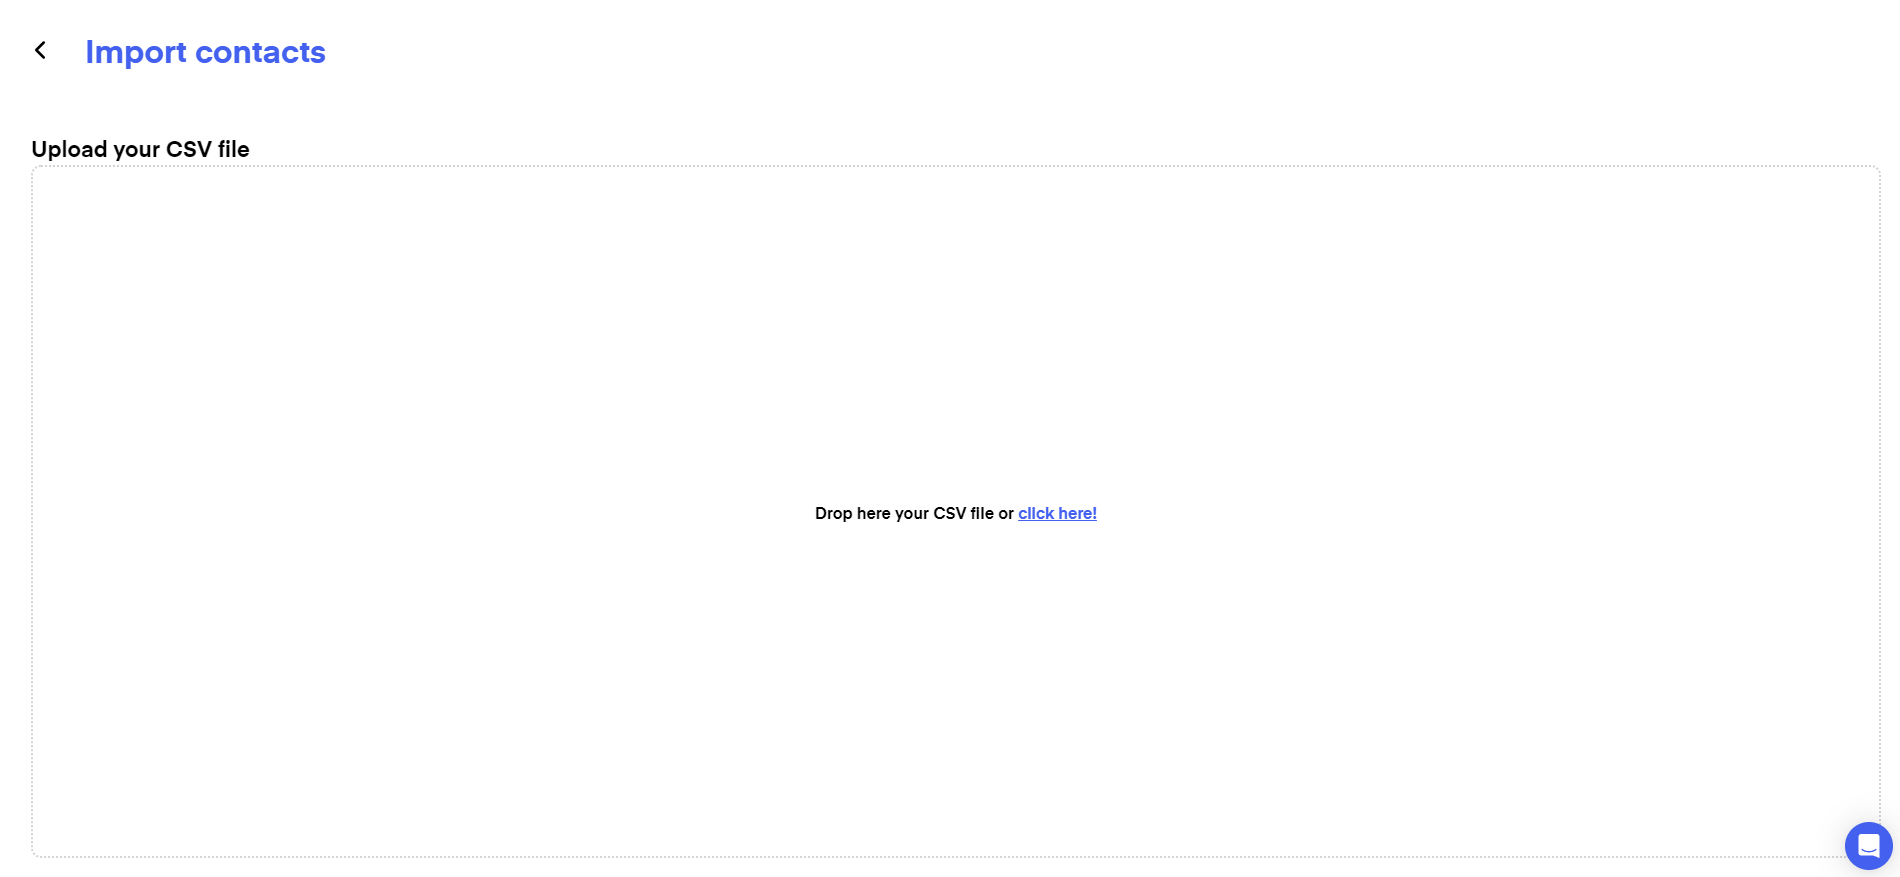
Drag&Drop your CSV file into the field or click on the field choose your CSV file and click "open"
Assign the columns of your data to our table fields and click continue
If there are invalid fields, correct the errors or skip those rows
Choose whether you want to replace the duplicates or update them with additional info
Choose a tag for the imported list, eg. "Imported" and click "finalize import"
Export Contacts
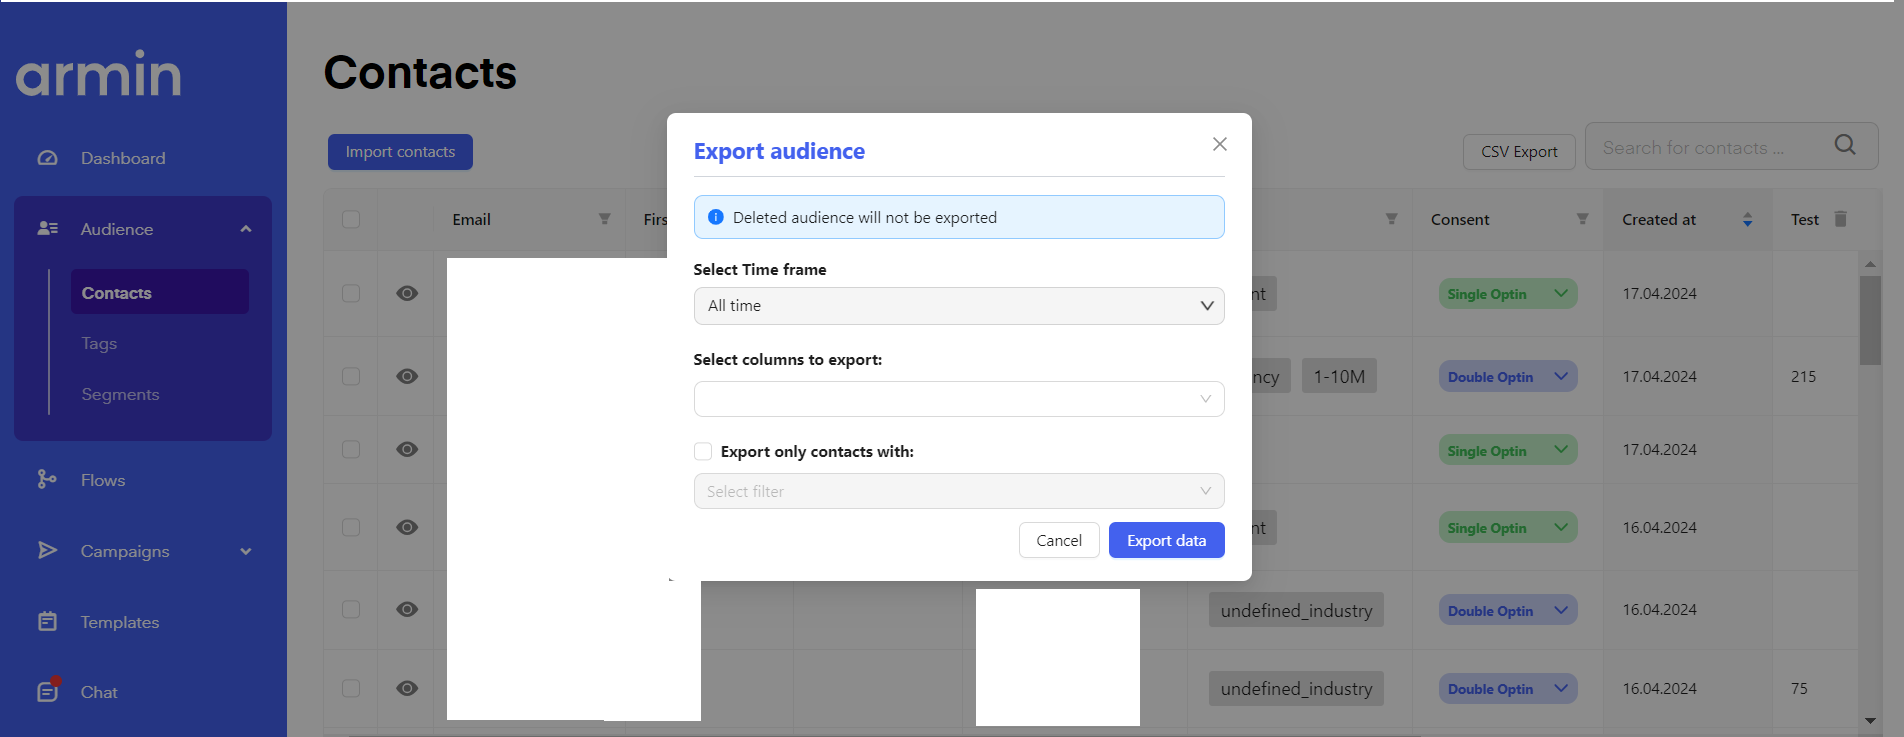
You can manually export your Chatarmin to use them as a CSV file or import them into other tools by clicking "CSV Export". Then choose which timeframe you want to export your audience from, which columns you want to export, and optionally whether you want to export specific Tags or Segments.
Add Contact

You can manually add contacts by clicking "add contact". You can fill out fields with the information of the lead/client. Note: The field "Phone" is mandatory.

Add Column
You can also add specific columns, eg. Birthday, Gender, etc. To do this click on "Add column", type in a title for the column, and click "Save new column". You can either fill out the new column manually or automatically inside of a new flow by using the action "Await customer reply" followed by "Update Customer", then choose "Action - Update Customer". Your newly created column and "Set value for" and choose the previously collected field you chose in "await customer reply".
Edit contacts
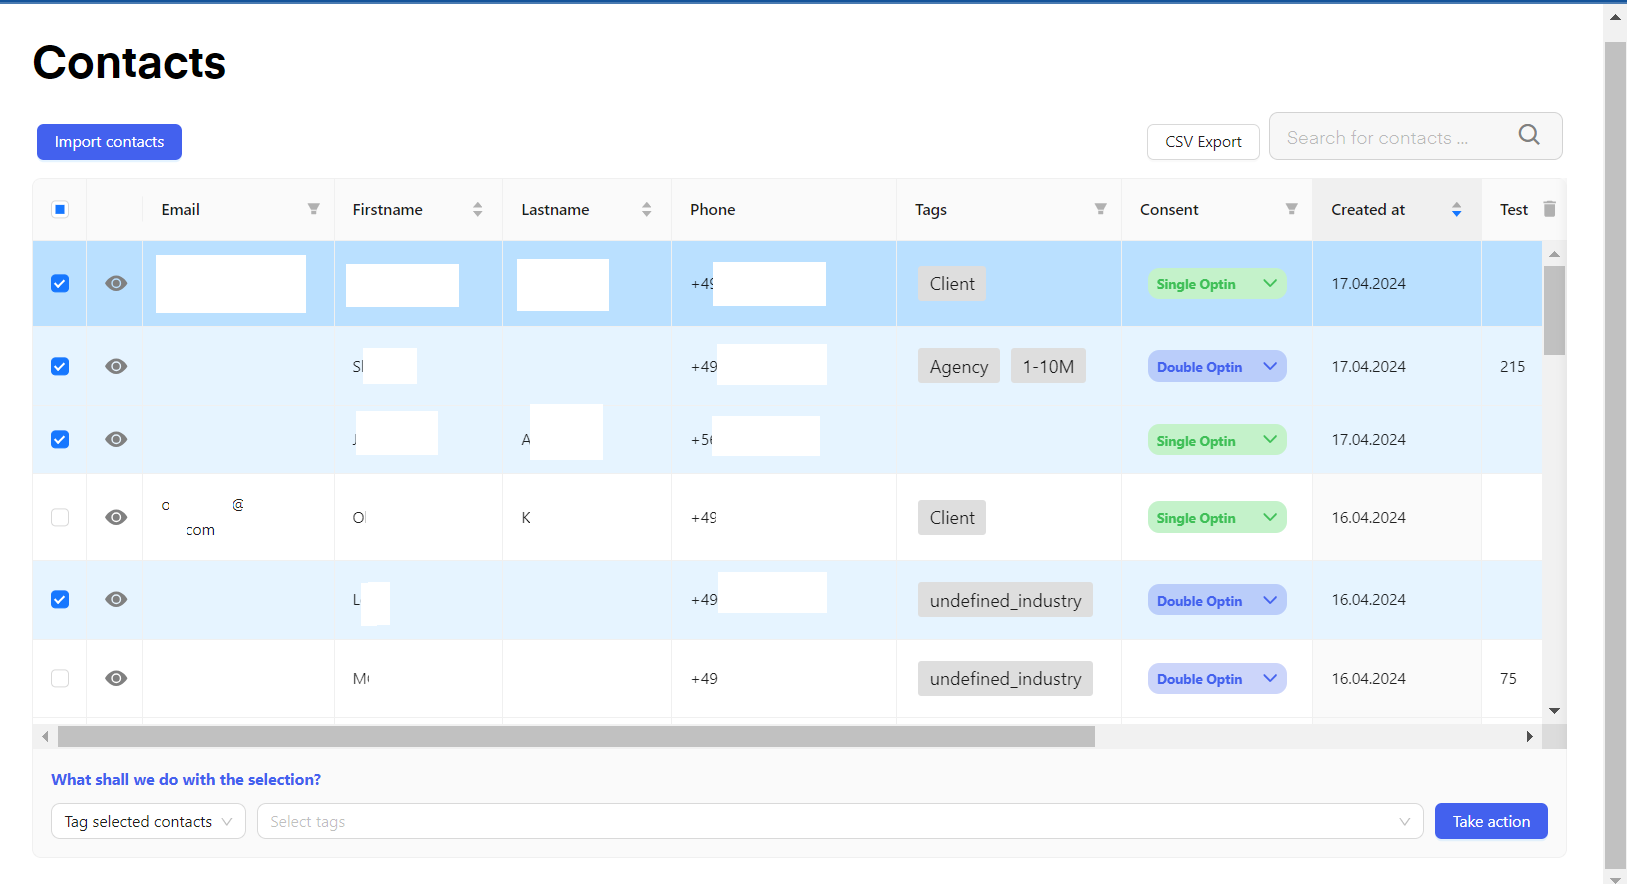
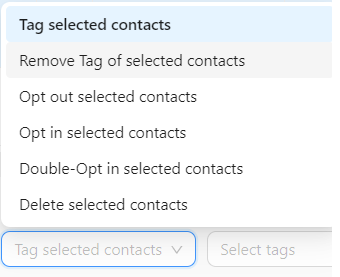
You can bulk edit your contacts by clicking on the boxes to the left of the contacts. You can then choose from the dropdown menu how you want to edit the chosen contacts. Optionally choose the tag you want to add/remove and click "take action".
Filter

You can filter your contacts by the different "column titles". E.g. click on the "Tags" filter icon and choose a specific filter - only contacts tagged with the chosen filter will be displayed. You can also see the number of contacts changing on the bottom left.