Shopify - Order Tracking Thank You Page Widget
Thank You Page Widget
With our Shopify integration, you can create an Order Tracking Thank You Page Widget. This not only improves your customers’ experience by providing useful order tracking options right after purchase, but also passively generates leads and grows your WhatsApp subscriber list.
Thank You Page Widget Installation
1. UI Extension via Chatarmin App Add-On
You can install the Chatarmin App Add-On which provides the widget as a UI extension.
This method offers seamless integration into your Shopify admin and an improved user experience.
The add-on is available in the Shopify App Store or directly in your Chatarmin dashboard.
Here’s a video demonstrating how to activate the Chatarmin add-on in Shopify:
2. Script Integration
You can add the widget as a simple JavaScript script to your Shopify Thank You page for flexible and quick implementation.
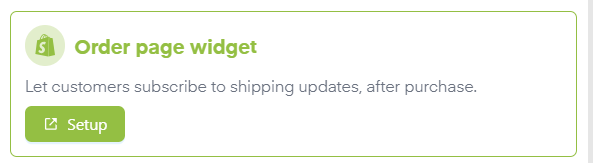
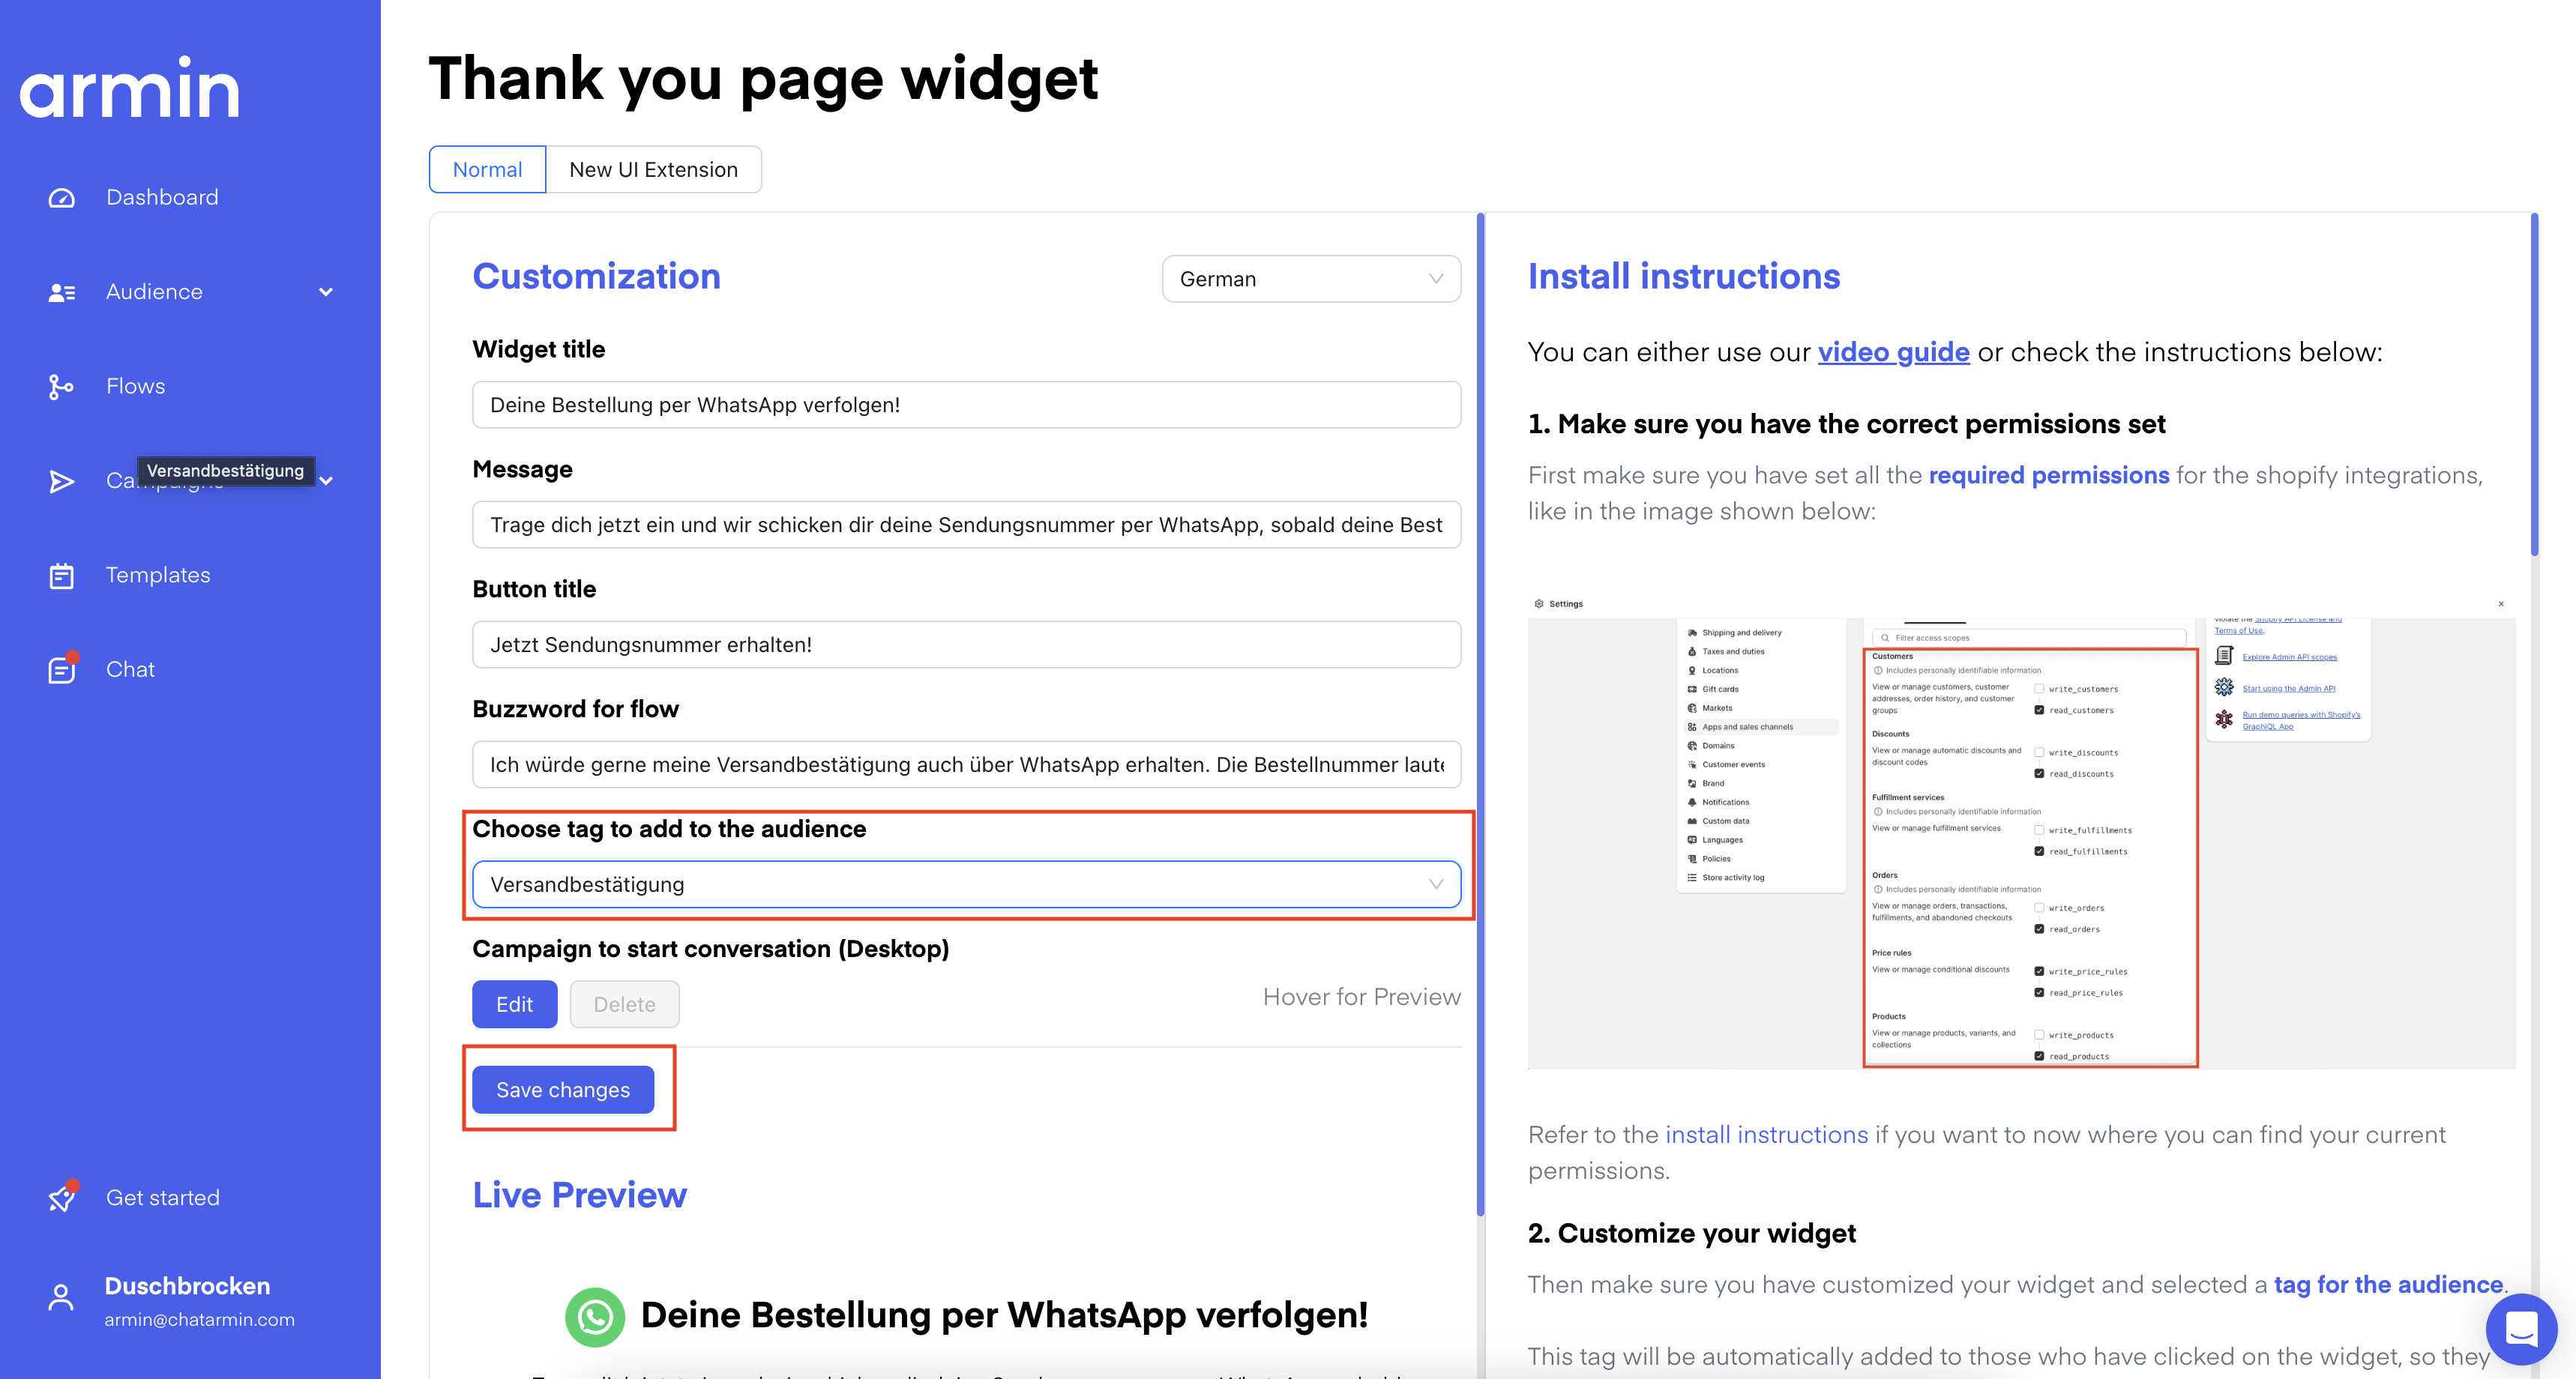
Setting Up the Widget
Go to the Dashboard in Chatarmin and click on Thank You Page Widget.
Follow the step-by-step instructions displayed on the right side.
Alternatively, watch our video tutorial explaining the setup process in detail.
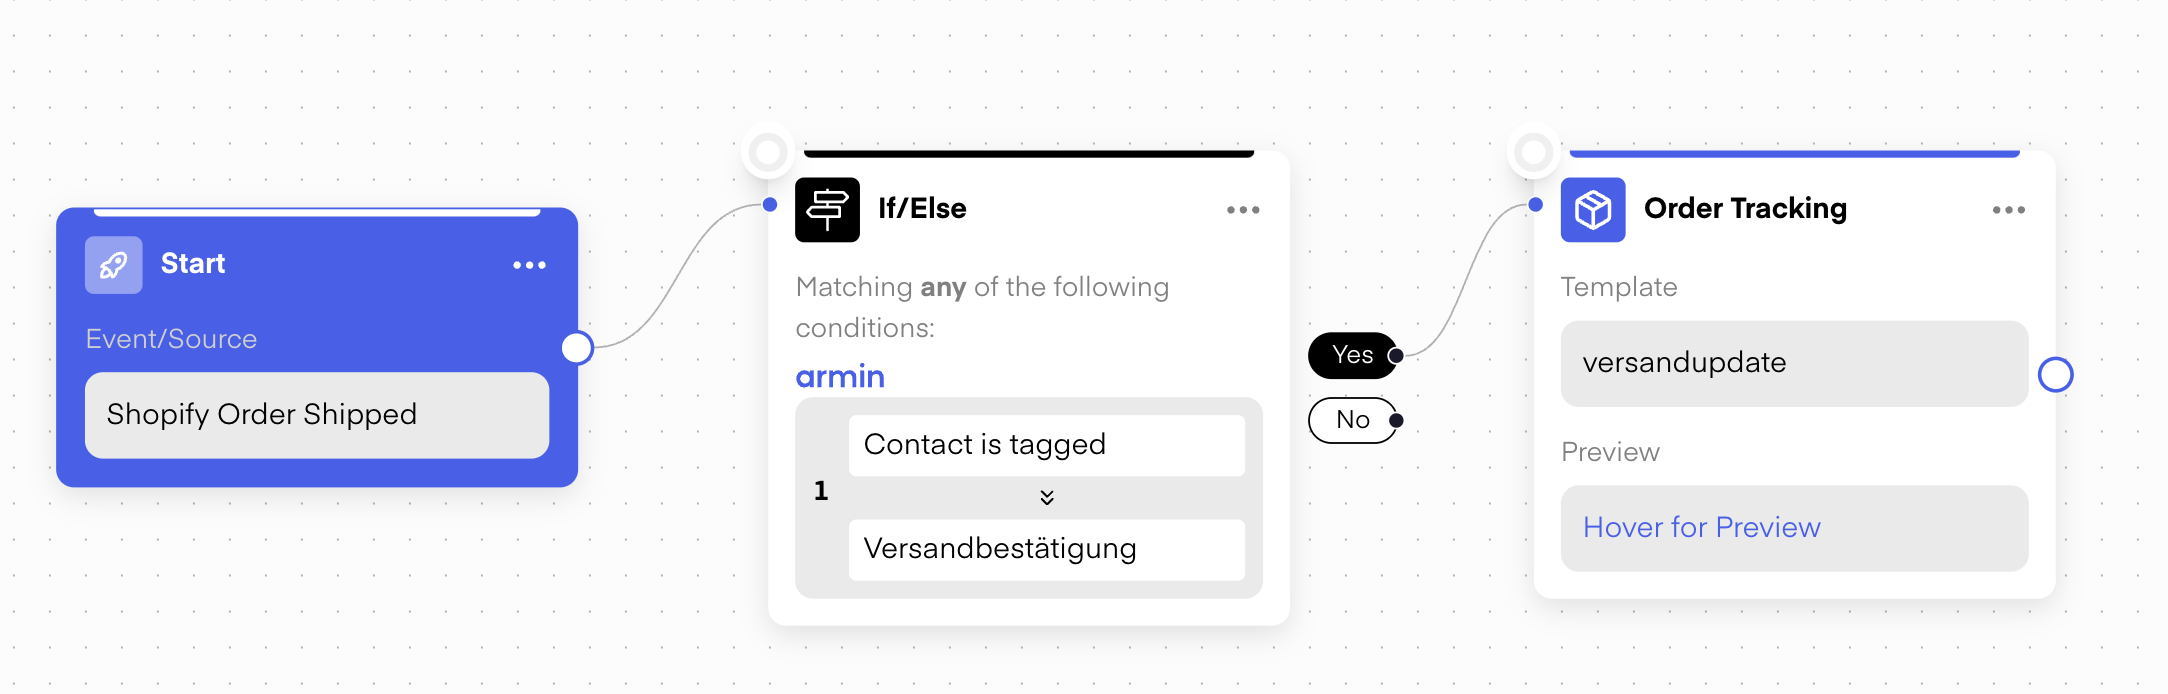
🚨 Note: The Shipping trigger also activates for double opt-ins. If you want to send shipping updates only to customers who have signed up for them, add an if/else condition to check whether the appropriate tag is present.
Mobile and Desktop: Sign Up Differences
Mobile:
On mobile devices, customers can sign up directly on the Thank You page. The buzzword (keyword) is pre-filled in the signup process, allowing for a smooth and immediate registration.
Desktop:
On desktop, the flow works slightly differently:
Customers enter their phone number on the Thank You page.
They then receive a template message containing a button with the buzzword.
Clicking this button triggers the signup flow for receiving shipment tracking updates.
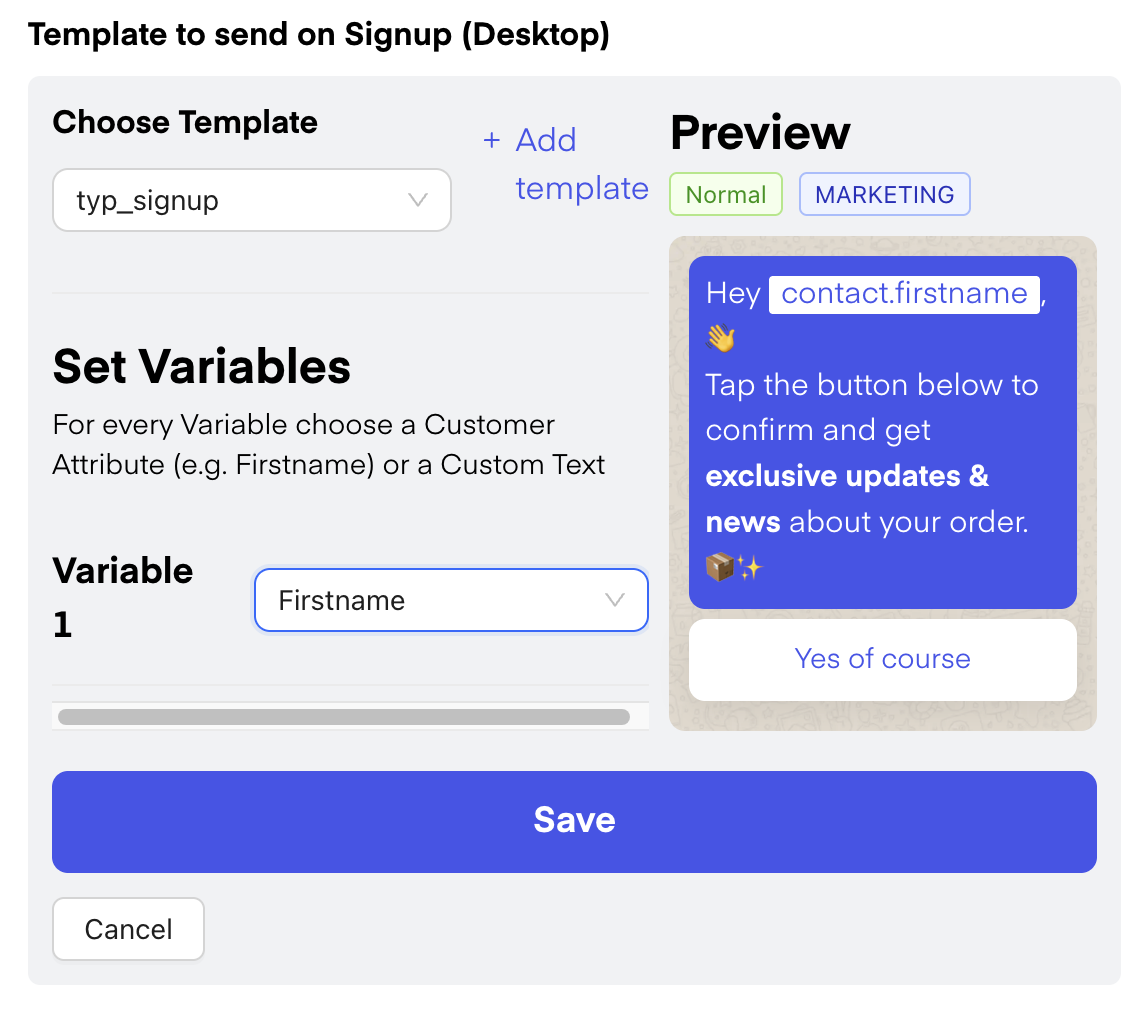
This is the template which will be send out after giving the phone number in the thank you page widget. They will need to confirm this message to get to the thank you page sign up flow.
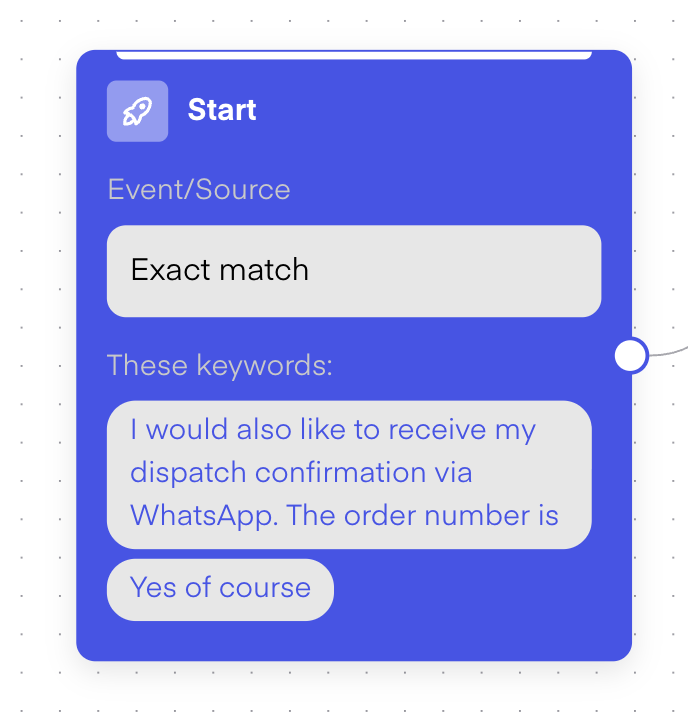
Here is the Thank You Page Flow trigger. The mobile trigger is shown at the top, and the desktop trigger at the bottom. For mobile, the order ID from Shopify is automatically added after the text “The order number is”.
Testing the Widget
Source: Chatarmin, Q3, 2023
Thank You Page Widget: Desktop Campaign Notification
Source: Chatarmin, Q3, 2023
Testing the Widget
Test the widget on both desktop and mobile to ensure the respective signup flows work smoothly.
🚨 Always click Save changes in the dashboard after making any adjustments -this activates the widget.
Testing the Widget step-by-step:
In short, you need to simulate an order in your shop. Use a 100% discount code to place a test purchase.
After that, sign up for the Thank You Page widget.
Then, in Shopify, manually mark the order as fulfilled.
Once this is done and the flows are set up correctly, you should receive the order notification.
Here’s a video showing how to test the Thank You Page widget:
BONUS: Testing the Thank You Page Widget - Desktop 🤝
Source: Chatarmin, Q3 2024
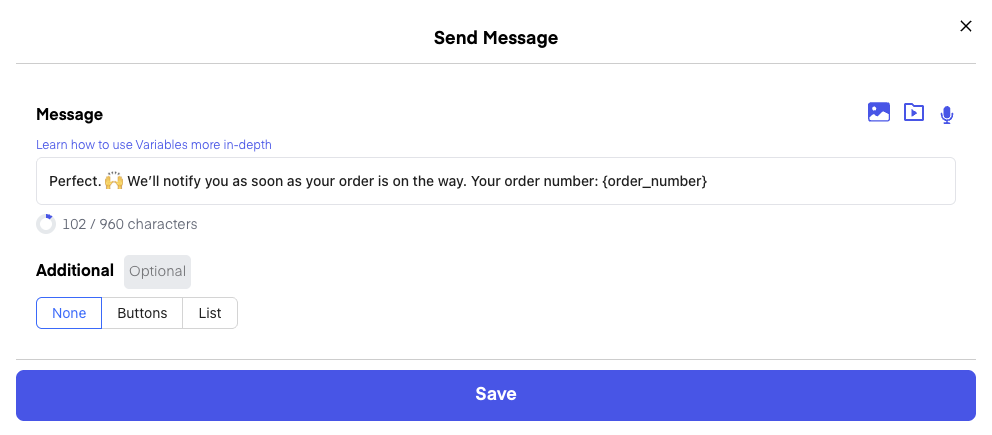
Send Back Order Number
You can create a custom message that customers receive right after signing up in the chat. The smart part: by using variables like {order_number}, the system automatically inserts the customer’s real order number into the message.
This way, customers instantly know their order number and have it at hand – without any extra effort from your team.
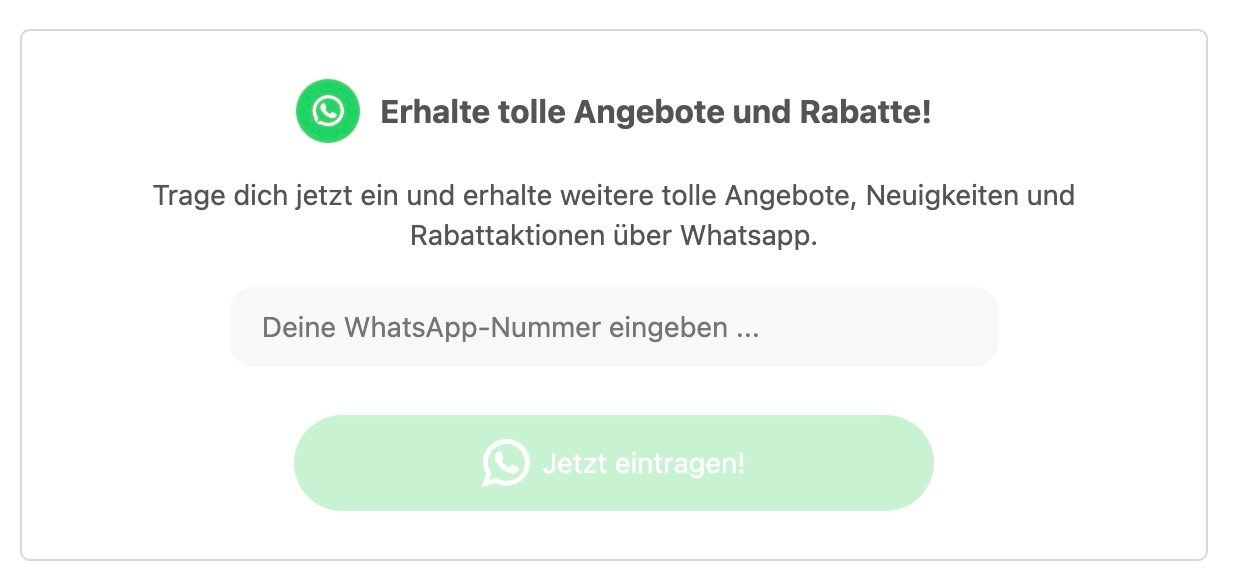
Alternative Use Case
If you don’t want to use the widget for shipping updates but still want to generate leads (like the 8-figure Shopify & Klaviyo D2C brand “fairment”), you can:
Invite Thank You page visitors to enter their phone number for WhatsApp campaigns and updates.
Confirm the double opt-in after phone number entry.
Collect WhatsApp leads directly from the Thank You page.

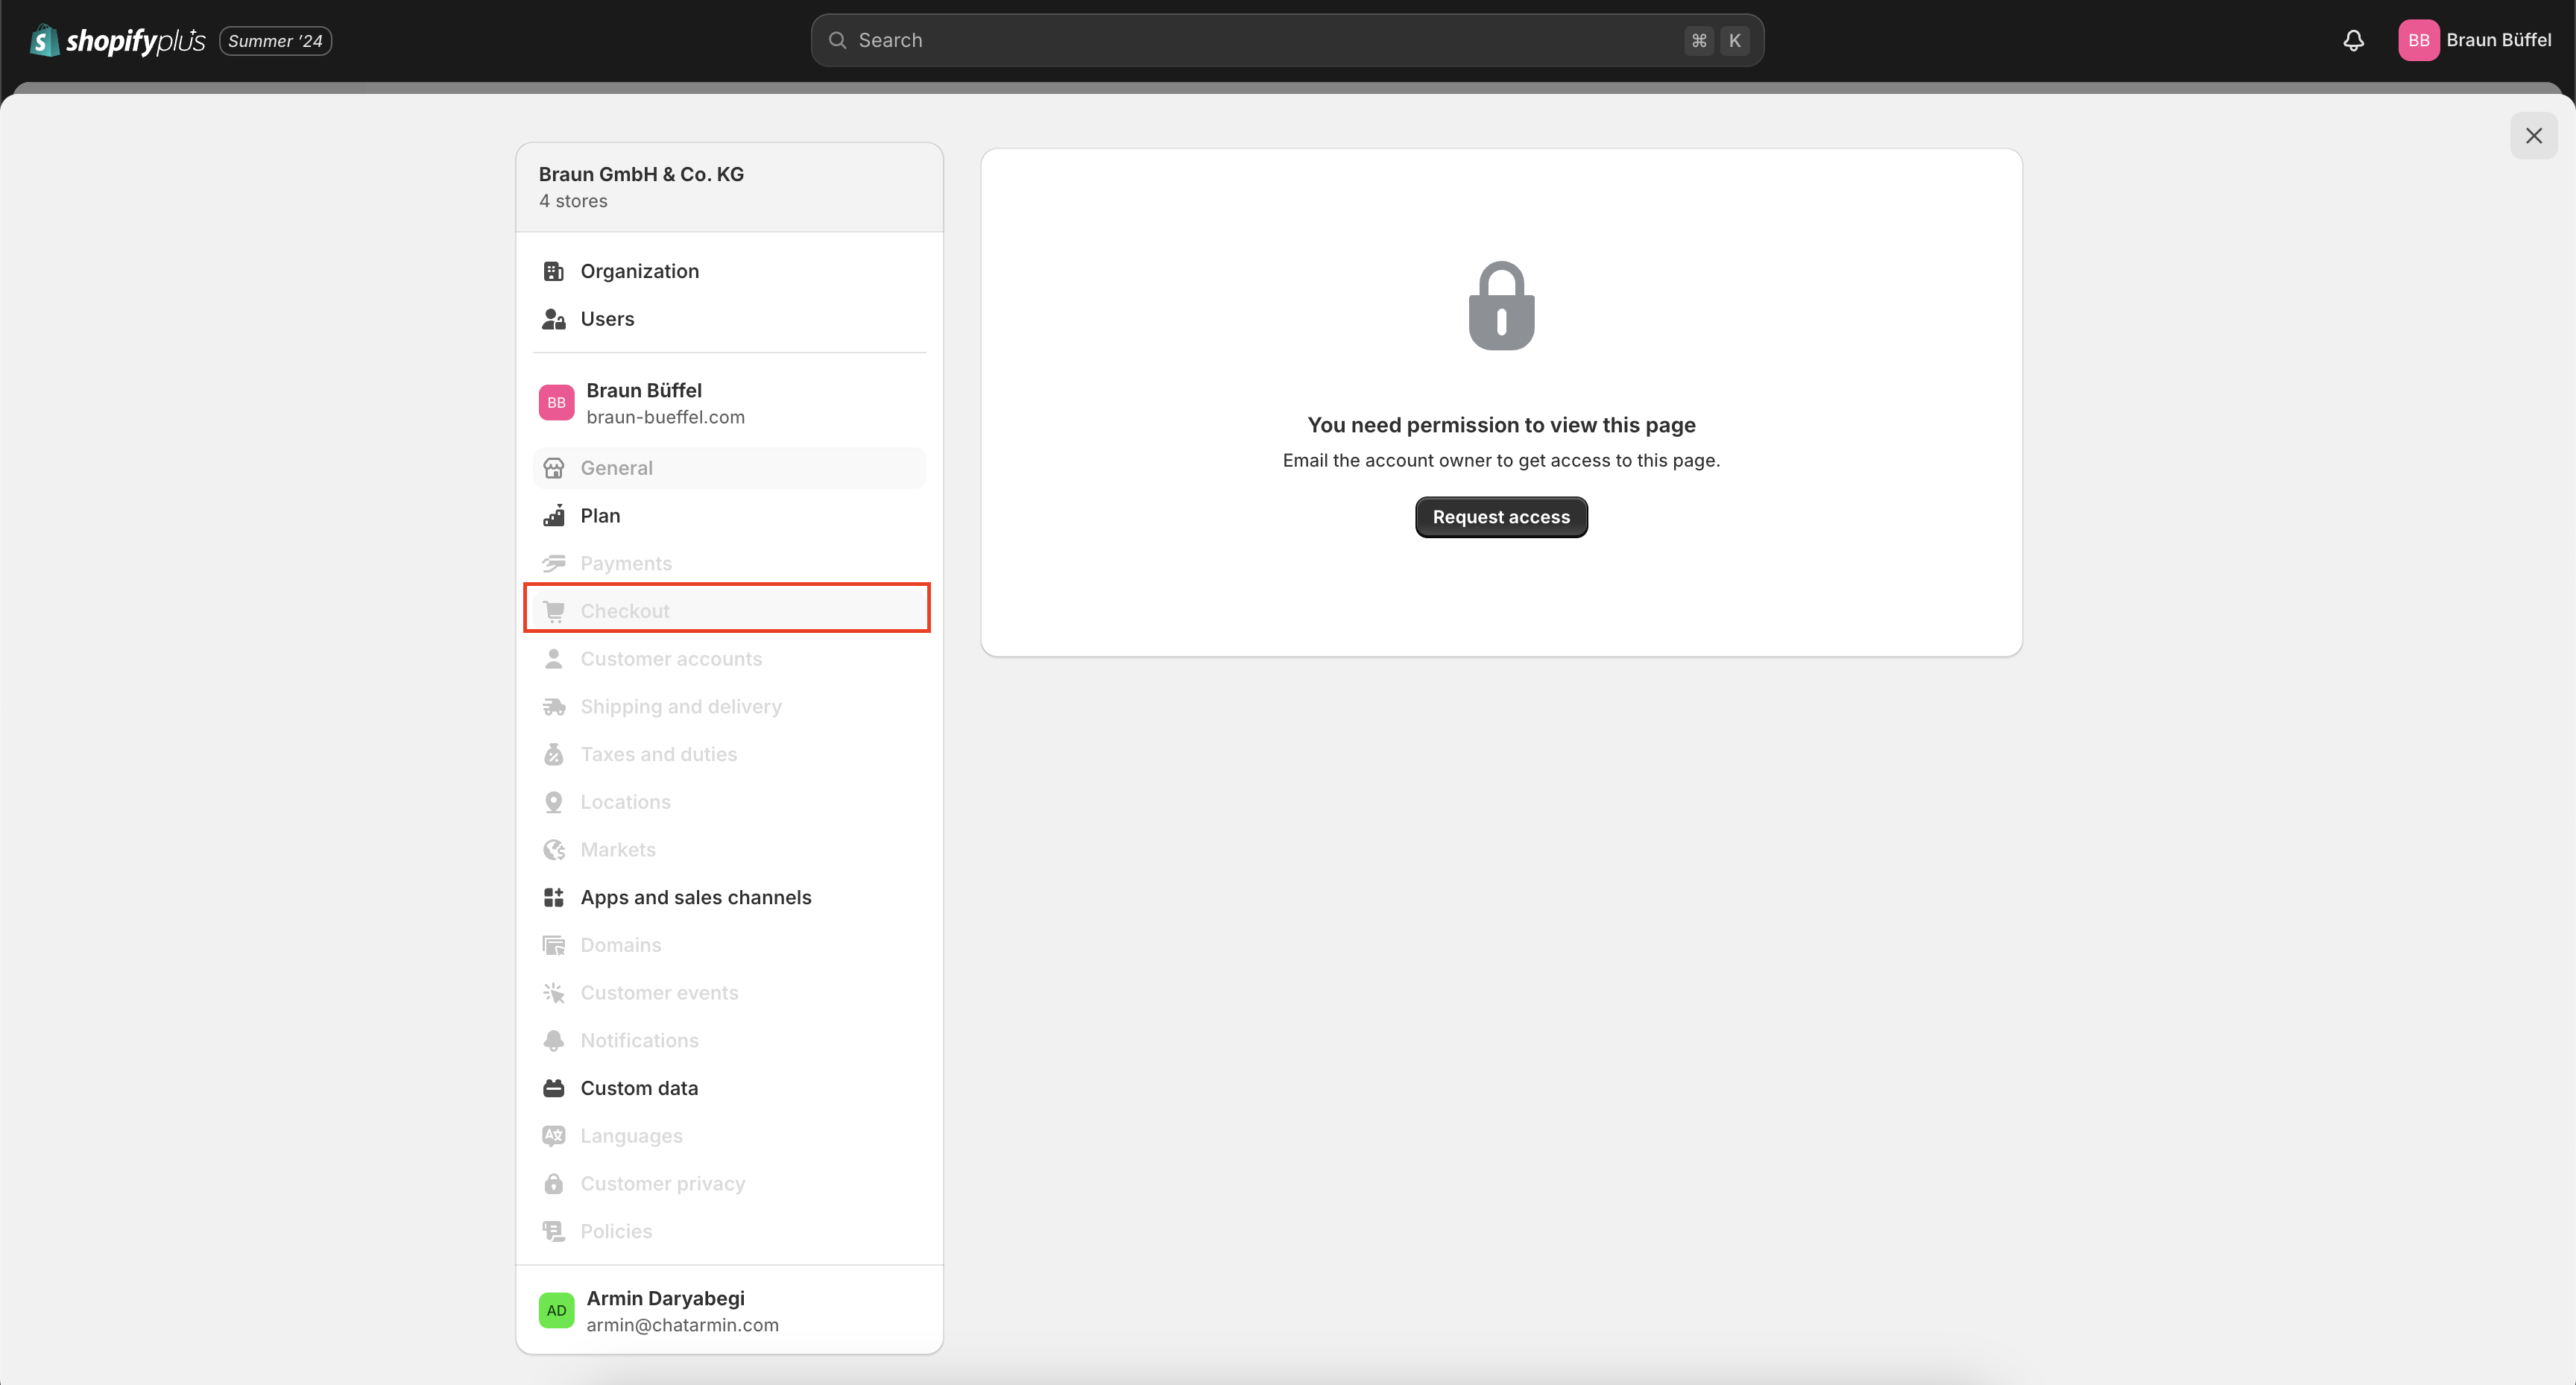
Shopify Checkout Rights
You need admin rights for the Shopify checkout to install, modify, or customize the Thank You Page widget. Without these rights, you cannot add the widget or insert the script.
To grant access:
Go to Settings > Account > Staff accounts.
Click Add staff account, enter the email, and assign Full access to checkout.
For add the Thank You page, Full access to the onlineshop is also required.
Send the invitation. The staff member will receive instructions to accept and set up their account.
You can review or modify permissions anytime. Always grant checkout access only to trusted staff.
Read the official Shopify-Guide here.
Source: Chatarmin, Q3 2024
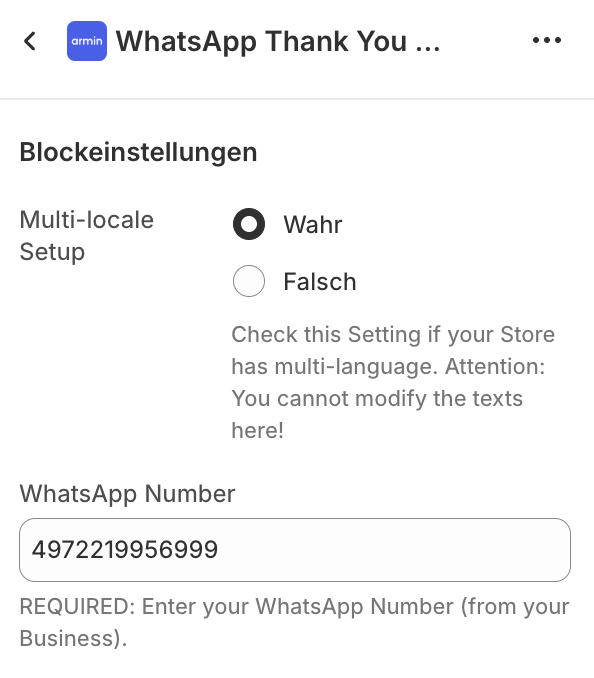
Multilocale Setup for Thank You Page Widget
When the Multilocale feature is enabled, the widget displays predefined default translations for each supported language. Note:
These translations are not editable.
The widget will show default translations regardless of backend text changes.
No sync occurs between backend texts and widget when Multilocale is active.